Who this is for
Home users selecting a Raspberry Pi for DNS filtering, Home Assistant, OctoPrint, a camera service or another always-on local workload.
Before you start
Have these basics ready before choosing parts or flashing firmware.
- A supported Raspberry Pi power supply, storage and a wired or trusted wireless network.
- A second computer for imaging media and administering the server.
- A service-specific backup destination separate from the Pi.
Match the board to the workload
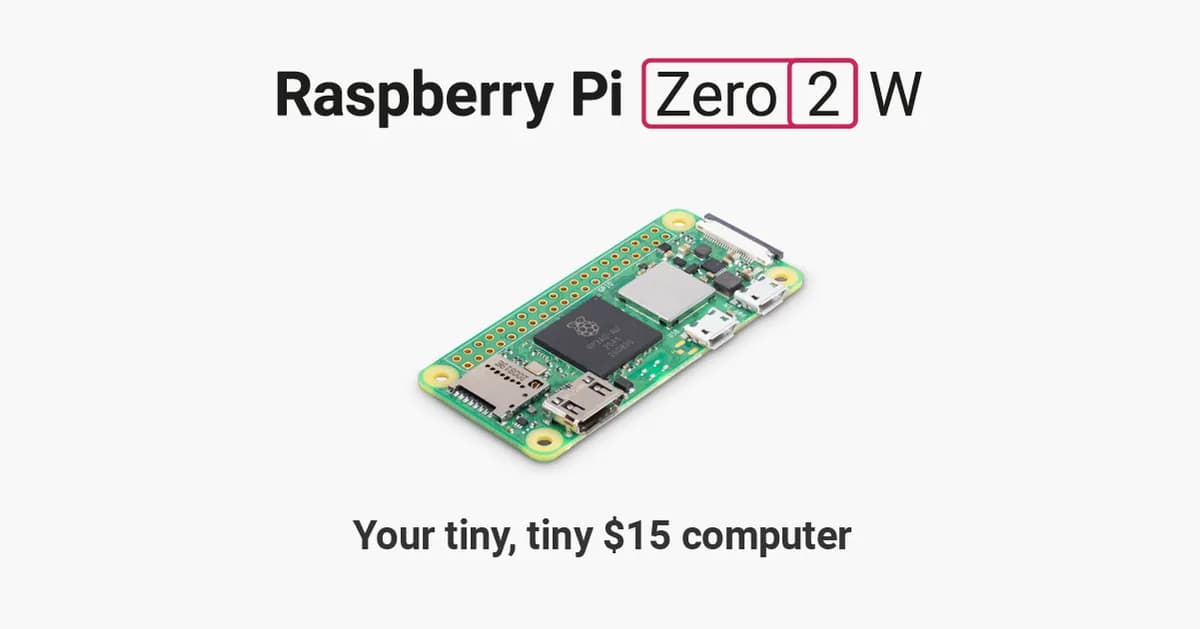
Pi Zero 2 W: One lightweight service, low physical footprint and minimal USB/storage demands matter most.
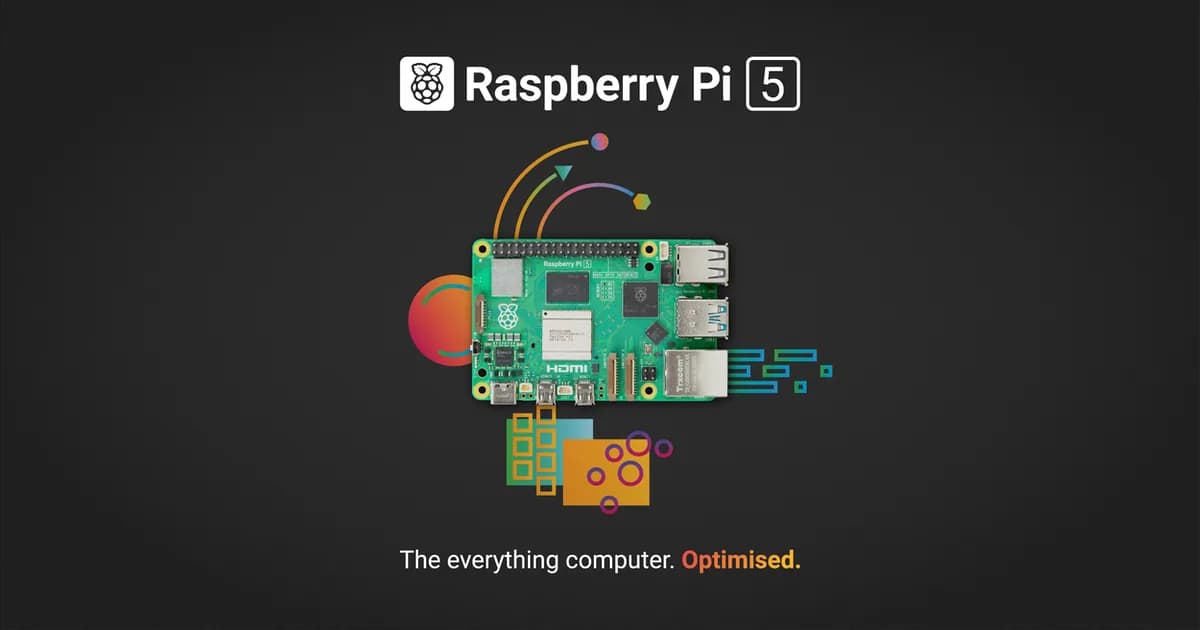
Pi 5: You need several services, higher memory, faster storage/network paths or compute-heavy camera work.
Dedicated appliance image: Home Assistant OS or another appliance owns the machine and simpler operations beat a general server.
Inventory the workload
List services, expected clients, storage writes, USB devices and whether an outage affects the household. Do not plan a multi-service stack by adding minimum requirements together; leave room for updates, logs and recovery.
- Choose one primary service for the first deployment.
- Decide whether the Pi is an appliance or a general host.
Choose power, storage and cooling
Use the board’s recommended power arrangement and avoid unknown microSD cards for write-heavy services. Pi 5 deployments should follow current cooling guidance for sustained loads; a Zero 2 W still needs airflow and stable power in an enclosure.
- Prefer tested storage with backups over oversized unverified media.
- Place the power cable where it cannot be knocked loose.
Install the smallest suitable system
Use a service appliance image when it is the supported path, or a minimal Raspberry Pi OS installation for a general host. Set hostname, user credentials, timezone and SSH keys during provisioning rather than accepting weak defaults.
- Apply updates before exposing the service.
- Disable interfaces and services you do not need.
Deploy one service
Follow the project’s official installation path and capture configuration outside disposable containers or packages. Pi-hole, OctoPrint and Home Assistant solve different jobs; install only the one you can test and maintain today.
- Record ports, data paths and version.
- Test from a second client before adding integrations.
Secure network access
Keep administration on the local network or a deliberately configured VPN. Avoid raw router port forwarding, use unique credentials, enable automatic security updates where supported and segment untrusted IoT devices if your network permits it.
- Review listening ports.
- Back up authentication and recovery information securely.
Operate it like a service
Monitor free disk space, temperature, restarts and failed backups. Schedule configuration backups to another machine and practice restoring onto spare media before calling the system dependable.
- Use graceful shutdown before maintenance.
- Keep a dated change log.
Safety and legal notes
Do not expose camera feeds, printer controls or home automation dashboards directly to the public internet. For printers, heaters, locks and other physical equipment, preserve manufacturer safety controls and use remote operation only when the environment can be monitored safely.
- Treat DNS and home-automation outages as household-impacting changes.
- Do not use a consumer Pi server as the only copy of important data.
Troubleshooting
The Pi resets or storage becomes corrupt. Check undervoltage indications, use the recommended supply, replace suspect media and review shutdown behavior.
The service works locally but not from another device. Check host firewall, bind address, client network/VLAN and DNS before opening router ports.
Performance degrades over days. Inspect temperature, memory, swap, logs and disk space; split workloads rather than hiding resource exhaustion with restarts.
Next steps
Keep the next experiment small and reproducible.
- Install one service only.
- Create and verify an off-device backup.
- Add monitoring before adding the second service.