Who this is for
Developers and automation builders choosing between a small camera board, a machine-vision development platform and a more finished edge-AI sensor.
Before you start
Have these basics ready before choosing parts or flashing firmware.
- A USB data cable, development computer and the vendor toolchain for the selected device.
- A privacy-safe test scene and a small, representative set of consented images.
- Stable lighting and a mount; Wi-Fi is optional for local inference but useful for setup or integration.
Choose by how much product you want
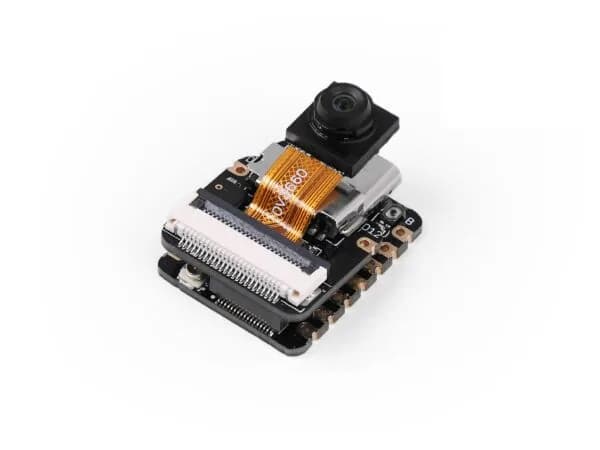
XIAO ESP32S3 Sense: Cost and size matter most and you can build the enclosure, firmware and data path.
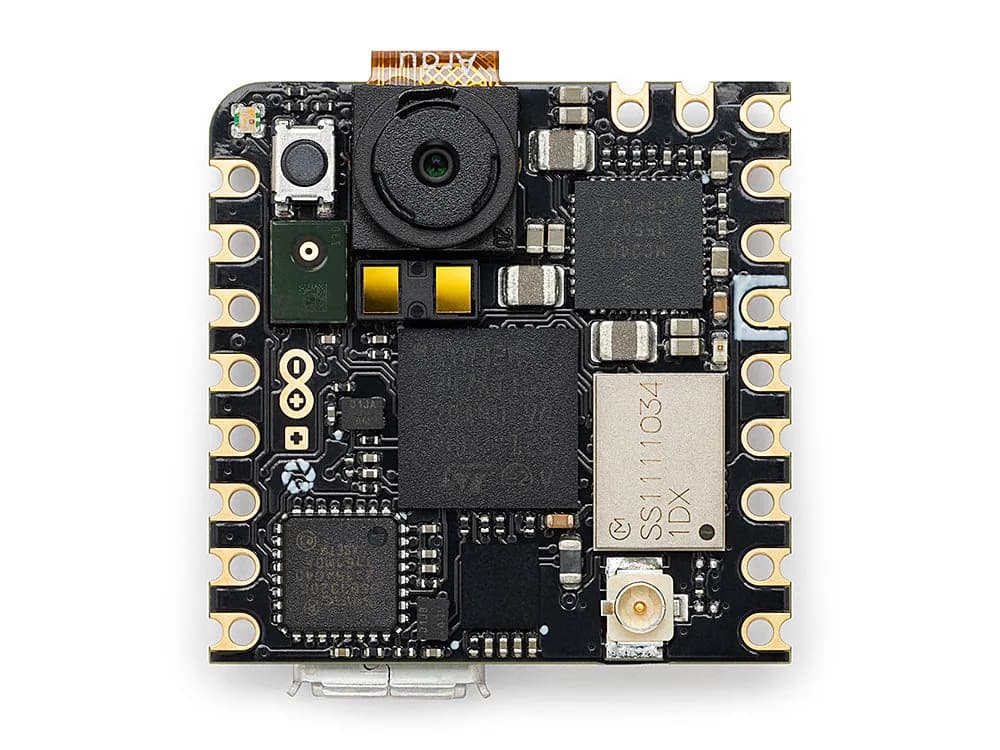
Nicla Vision: You want OpenMV-style iteration, extra sensors and a compact machine-vision board.
SenseCAP Watcher: You want a packaged screen/camera device and Home Assistant integration with less hardware work.
Define one observable event
Use a narrow statement such as “is the desk occupied?” rather than “understand the room.” Specify acceptable false positives, false negatives, response time and what the system does when uncertain.
- Avoid identity recognition for a first project.
- Include a no-decision state.
Prove image capture
Load the vendor camera example and inspect frames under day, night and backlit conditions. Fix orientation, focus, exposure and mounting before adding a model.
- Save representative frames locally with consent.
- Do not tune only on a bright workbench image.
Choose the inference path
XIAO projects often start with ESP32 camera examples and compact TinyML workflows; Nicla Vision has an official OpenMV-oriented setup; Watcher exposes a higher-level detection and automation path. Follow the official memory and model-format constraints for the device.
- Start from a supported sample model.
- Measure binary size, RAM use and frame rate on-device.
Build a representative dataset
Collect examples from the final camera angle, including empty scenes, partial objects, shadows and likely confusers. Split test images by capture session so nearly identical frames do not inflate apparent quality.
- Remove unnecessary faces and personal details.
- Track dataset consent and deletion rules.
Test decisions, not just labels
Log confidence, latency and the resulting automation action. Evaluate false alarms over time and choose a threshold that matches the consequence: a notification can tolerate more uncertainty than unlocking or disabling equipment.
- Add cooldowns for repeated detections.
- Fail closed for safety-relevant actions.
Integrate with a reversible action
Send a test event to a dashboard, LED or Home Assistant helper before controlling a real device. Keep the event payload minimal and provide a manual override.
- Use a separate test automation.
- Retain logs long enough to debug, not indefinitely.
Safety, privacy and legal notes
A camera can collect personal data even when inference runs locally. Get consent, avoid private spaces, minimize storage and network exposure, and do not use a hobby classifier for safety, access control, medical judgment or covert surveillance.
- Show a visible indicator when practical.
- Secure dashboards and streams with authentication.
- Document when images leave the device and how they are deleted.
Troubleshooting
The camera shows corrupted or blank frames. Return to the exact vendor example, confirm board/camera selection, power quality, ribbon orientation and memory settings.
The model works in training but fails live. Test with deployment-angle images from a separate session; add confusers and re-check preprocessing.
Home Assistant receives duplicate or noisy events. Add threshold hysteresis, cooldowns and a state transition rule before firing the automation.
Next steps
Keep the next experiment small and reproducible.
- Ship a local camera preview.
- Collect a small consented test set from the final mount.
- Connect one reversible notification action before any physical automation.