OctoPrint 3D-printer controller
Control and monitor a networked 3D printer from a browser using the widely deployed open-source server.
View original project ↗What you’re building
OctoPrint is a Python server that connects directly to a consumer 3D printer and exposes control, uploads, status, and monitoring through a browser on the local network. It can run headlessly on a Raspberry Pi, laptop, desktop, or other computer using Linux, Windows, or macOS; many slicers can upload sliced jobs directly to it. The project currently supports Python 3.10 through 3.14, and its source documentation recommends a user-owned virtual environment rather than a privileged pip installation. A successful setup starts the server, opens its web interface—port 5000 by default—and completes the first-run wizard before the printer is connected and configured. For Raspberry Pi, the project points users toward the OctoPi image rather than a manual source install. The important constraint is access control: OctoPrint can operate real machinery, so the first-run security configuration and safe network exposure are mandatory, not optional polish.
Key steps
- Choose the installation path: use the OctoPi image for a Raspberry Pi, or prepare Python 3.10-3.14, pip, and virtualenv for a manual host install.
- Create a user-owned virtual environment and install OctoPrint into it with that environment’s pip, without using sudo for the Python installation.
- Start the service with the environment’s octoprint command or octoprint serve, then browse to the host on port 5000.
- Complete the first-run wizard and configure access control before exposing printer controls or connecting from other devices.
- Connect and select the printer, verify communication and emergency controls, then test with a safe supervised print before adding slicer uploads, plugins, cameras, or remote access.
Original project and code
Original project pages, manufacturer documentation and repositories used while preparing this page. Last reviewed .
Hardware for this project
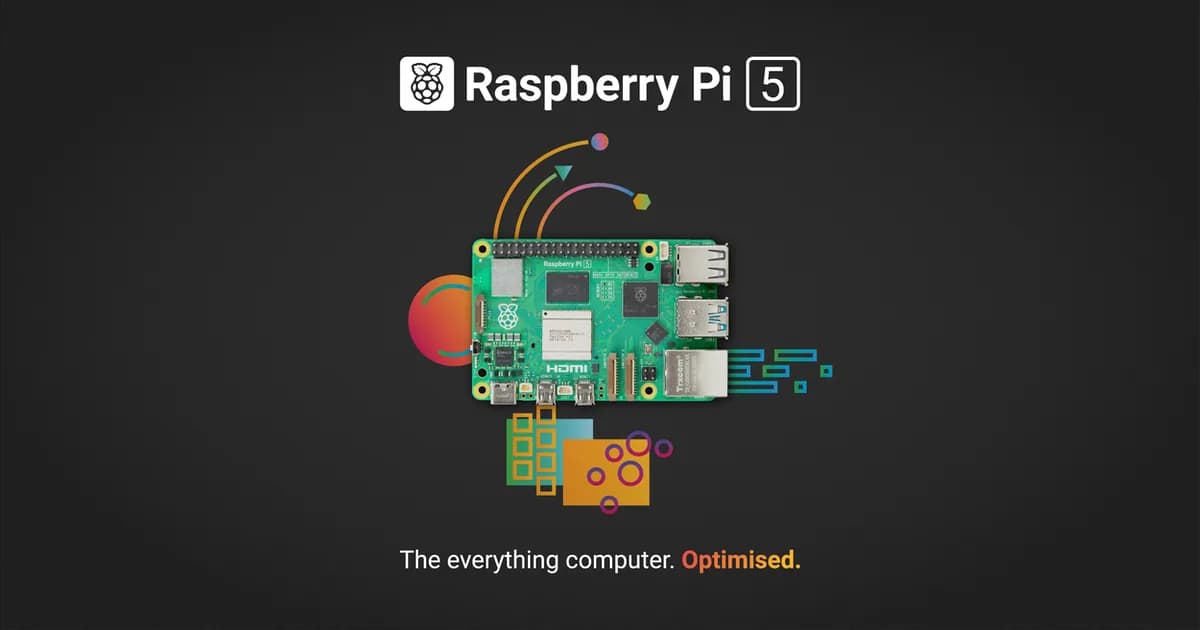
Raspberry Pi 5
General-purpose Linux single-board computer with a quad-core Cortex-A76 CPU, dual 4K display output, GPIO and PCIe expansion.
- Platform
- Broadcom BCM2712 quad-core Arm Cortex-A76, Raspberry Pi OS/Linux · Linux
- Builds
- 06
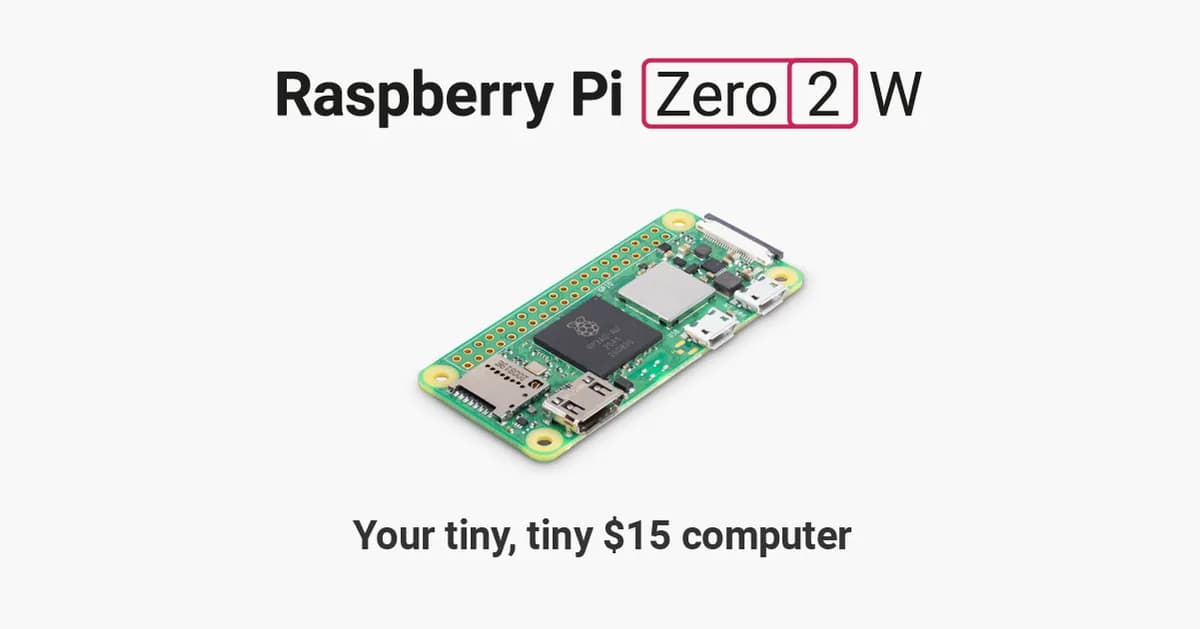
Raspberry Pi Zero 2 W
Compact Linux board with a quad-core Cortex-A53 processor, 512 MB RAM, Wi-Fi, Bluetooth and camera connectivity.
- Platform
- Raspberry Pi RP3A0 quad-core Arm Cortex-A53, Raspberry Pi OS/Linux · Linux
- Builds
- 07