Home Assistant OS hub
Turn a Raspberry Pi into a dedicated local home-automation hub with integrations, dashboards and automations.
View original project ↗What you’re building
Home Assistant OS turns a Raspberry Pi 4 or 5 into a dedicated local home-automation appliance. The Buildroot-based operating system runs Docker, deploys Home Assistant Supervisor, and manages Home Assistant Core and add-on containers as an integrated system rather than as packages on a general-purpose Linux desktop. On a Raspberry Pi 5 with at least 2 GB RAM, a 32 GB or larger A2 microSD card, correct power supply, and Ethernet, Raspberry Pi Imager can write the hardware-specific HAOS image. After first boot, the expected outcome is a browser-accessible Home Assistant onboarding flow for adding integrations, dashboards, and automations. Writing the image erases the selected card. Ethernet is required for the documented installation and is more reliable afterward; use the Pi 5 image specifically, and do not expect normal Ubuntu-style package management on this purpose-built OS.
Key steps
- Install Raspberry Pi Imager on a computer and insert the target microSD card.
- Choose Other specific-purpose OS > Home automation > Home Assistant, then select the Raspberry Pi 5 HAOS image.
- Select the correct card, write the image, wait for verification, and eject it; this erases the card.
- Insert the card into the Pi, attach Ethernet to the same network as the setup computer, then connect the proper power supply.
- Open homeassistant.local or the Pi’s IP address in a browser and complete Home Assistant onboarding.
Original project and code
Original project pages, manufacturer documentation and repositories used while preparing this page. Last reviewed .
Hardware for this project
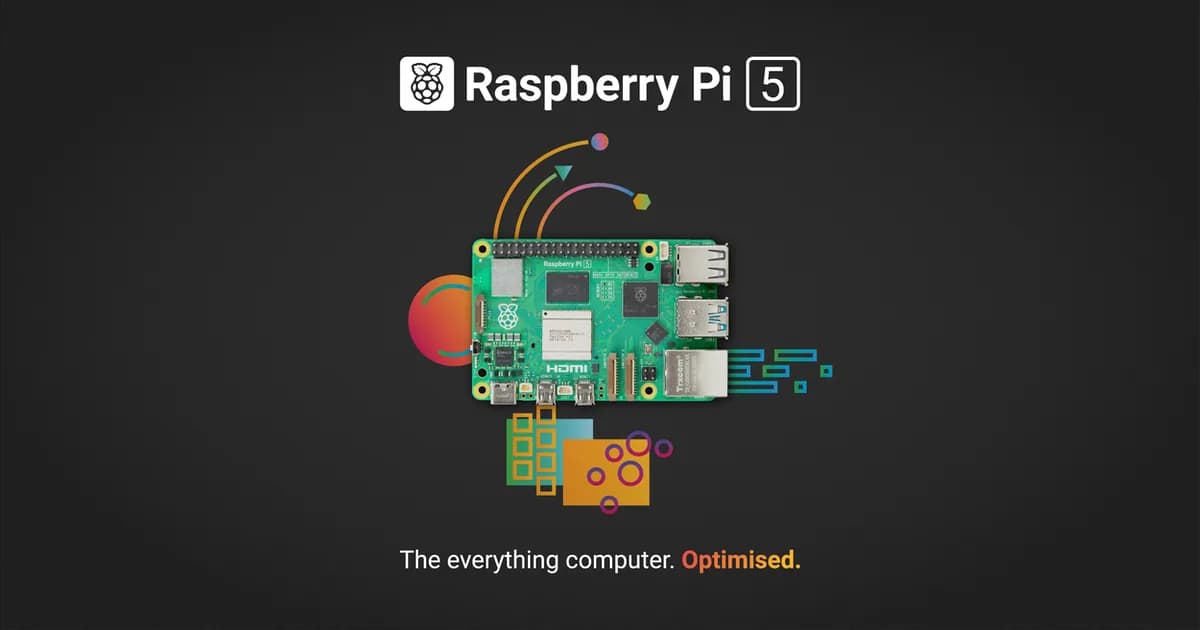
Raspberry Pi 5
General-purpose Linux single-board computer with a quad-core Cortex-A76 CPU, dual 4K display output, GPIO and PCIe expansion.
- Platform
- Broadcom BCM2712 quad-core Arm Cortex-A76, Raspberry Pi OS/Linux · Linux
- Builds
- 06