Nicla Vision custom image classification
Arduino's first-party tutorial trains and deploys a custom image-classification model on Nicla Vision with Edge Impulse.
View original project ↗What you’re building
Arduino’s Nicla Vision image-classification tutorial trains a custom TensorFlow Lite model in Edge Impulse and embeds it into OpenMV firmware for local camera inference. The first-party walkthrough demonstrates supervised classification of user-defined objects such as fruits; a person-detection project would require collecting and validating appropriate person and non-person classes rather than relying on a bundled detector. Hardware is the Nicla Vision, a micro-USB cable, an Edge Impulse account, and representative subjects or objects. The expected outcome is an OpenMV script that captures frames, runs the baked-in model, and reports class confidence without a cloud connection. The model must fit internal flash because the board lacks dedicated SRAM for runtime loading. Arduino recommends MobileNetV2 96x96 0.1, roughly 200 KB, and warns that larger-ROM model choices will likely not fit.
Key steps
- Set up Nicla Vision in OpenMV IDE and create labeled image classes, including a diverse unknown or negative class.
- Capture varied images across subjects, angles, lighting, and backgrounds rather than repeating one controlled specimen.
- Upload the OpenMV dataset to Edge Impulse and retain about 20% as unseen test data.
- Create a 48x48 RGB image impulse with transfer learning, generate features, and train MobileNetV2 96x96 0.1.
- Evaluate the held-out test set for overfitting before exporting OpenMV Firmware.
- Flash the generated Nicla Vision firmware, run ei_image_classification.py, and verify confidence on genuinely new scenes.
Original project and code
Original project pages, manufacturer documentation and repositories used while preparing this page. Last reviewed .
Hardware for this project
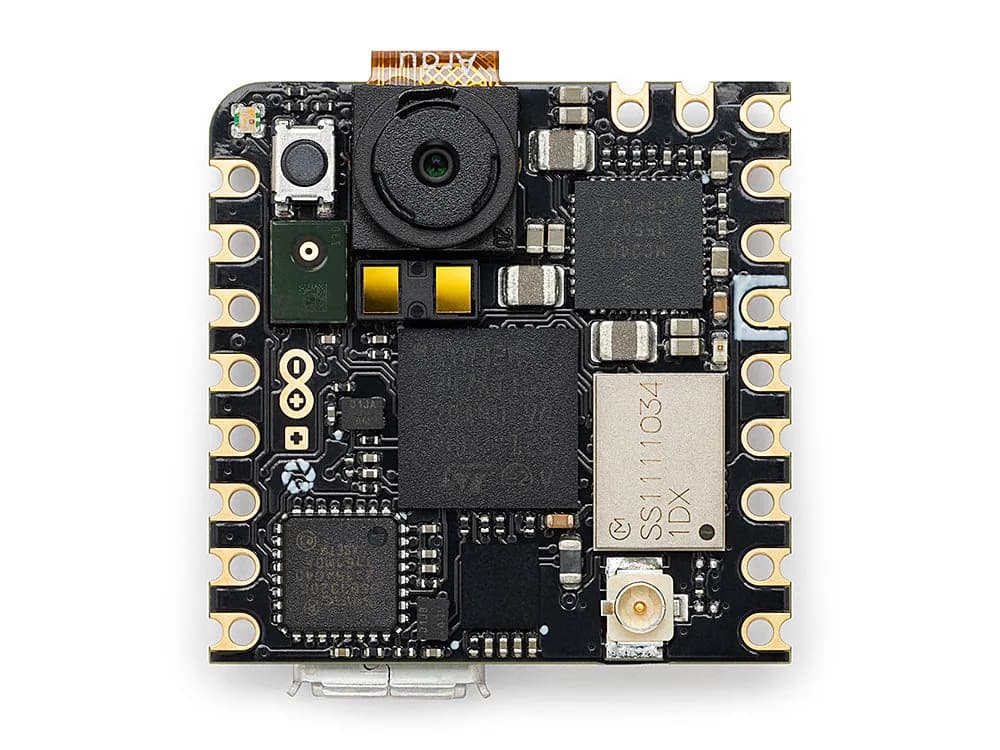
Nicla Vision
Compact machine-vision board with a 2 MP camera, dual-core STM32H7, microphone, IMU and time-of-flight distance sensor.
- Platform
- STM32H747A dual-core Cortex-M7/M4
- Builds
- 02