XIAO ESP32S3 Sense camera web server
Manufacturer tutorial turns the camera board into a browser-viewable Wi-Fi video stream and photo capture device.
View original project ↗What you’re building
Seeed Studio’s camera guide turns a XIAO ESP32S3 Sense into a Wi-Fi camera that serves a live browser view and exposes controls for image parameters. The project is specific to the Sense expansion board and supports both the bundled OV2640 and Seeed’s optional OV5640 camera. It uses Arduino IDE, the ESP32 camera stack, PSRAM for frame buffers, and one of two supplied CameraWebServer code variants selected to match Arduino-ESP32 2.0.x or 3.0.x. After flashing and joining the same network, the serial output provides the address for the board-hosted page, where the stream can be started and adjusted. The key constraint is memory and version configuration: PSRAM must be enabled for reliable camera operation, the code variant must match the installed ESP32 board package, and the external antenna should be fitted for better Wi-Fi reception. A microSD card is not required for streaming.
Key steps
- Seat the Sense expansion board and camera on the XIAO, and attach the supplied external antenna to the Wi-Fi/Bluetooth connector.
- Install XIAO ESP32S3 board support in Arduino IDE and enable the PSRAM option required by the camera guide.
- Download the CameraWebServer project variant that matches the installed Arduino-ESP32 major version: 2.0.x or 3.0.x.
- Enter the local Wi-Fi credentials in the selected project, choose the XIAO ESP32S3 Sense settings, compile, and upload over USB.
- Open the serial monitor, note the reported local web address, visit it from a device on the same network, and start the stream or adjust camera parameters.
Original project and code
Original project pages, manufacturer documentation and repositories used while preparing this page. Last reviewed .
Hardware for this project
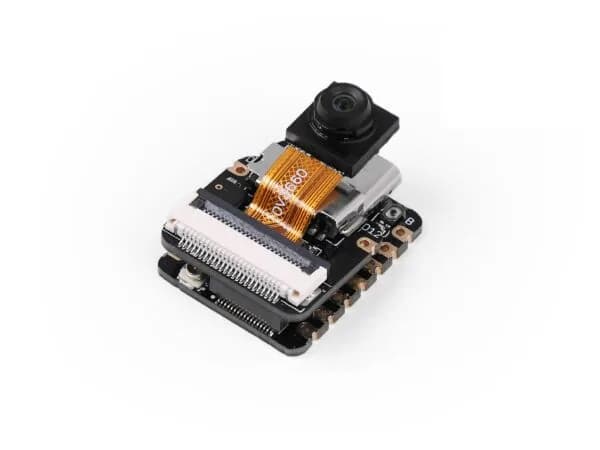
XIAO ESP32S3 Sense
Thumb-sized ESP32-S3 board bundled with an OV2640 camera, digital microphone and microSD support for vision and audio projects.
- Platform
- Espressif ESP32-S3, Arduino/ESP-IDF/CircuitPython
- Builds
- 04