OpenMV machine vision on Nicla Vision
Program the camera and sensors through OpenMV's MicroPython-based computer-vision environment.
View original project ↗What you’re building
Arduino’s getting-started project uses OpenMV IDE and MicroPython to program Nicla Vision’s RGB LED and two-megapixel camera. Nicla Vision ships with OpenMV firmware, and the guide requires OpenMV IDE 4.0.10 or newer plus a USB cable carrying both power and data. After updating the board bootloader and, if prompted, the OpenMV firmware, users can run a MicroPython script that initializes the camera, previews frames, and saves a QVGA RGB565 image as example.jpg on the board. The result is a working OpenMV development loop suitable for extending into machine-vision experiments. The central constraint is firmware ownership: uploading Arduino sketches replaces the OpenMV workflow, so returning to OpenMV requires double-resetting into DFU mode and reinstalling OpenMV firmware. Camera orientation may also require vertical-flip and horizontal-mirror settings, and a white blinking status LED indicates a hardware panic such as an insecure camera module.
Key steps
- In Arduino IDE, install the latest Mbed OS Nicla Boards package, upload STM32H747_manageBootloader, and follow Serial Monitor prompts to update the bootloader.
- Install OpenMV IDE 4.0.10 or newer, connect Nicla Vision with a data-capable USB cable, and click the IDE’s connect control.
- When prompted, install the latest release OpenMV firmware, leave internal-filesystem erasure unselected, and wait for the DFU update to complete.
- Create and run a simple pyb RGB-LED script to verify the MicroPython connection and execution loop.
- Run the camera script with RGB565 and QVGA settings, adjust vertical flip and mirror for orientation, save example.jpg, then reset the board to access the saved image.
Original project and code
Original project pages, manufacturer documentation and repositories used while preparing this page. Last reviewed .
Hardware for this project
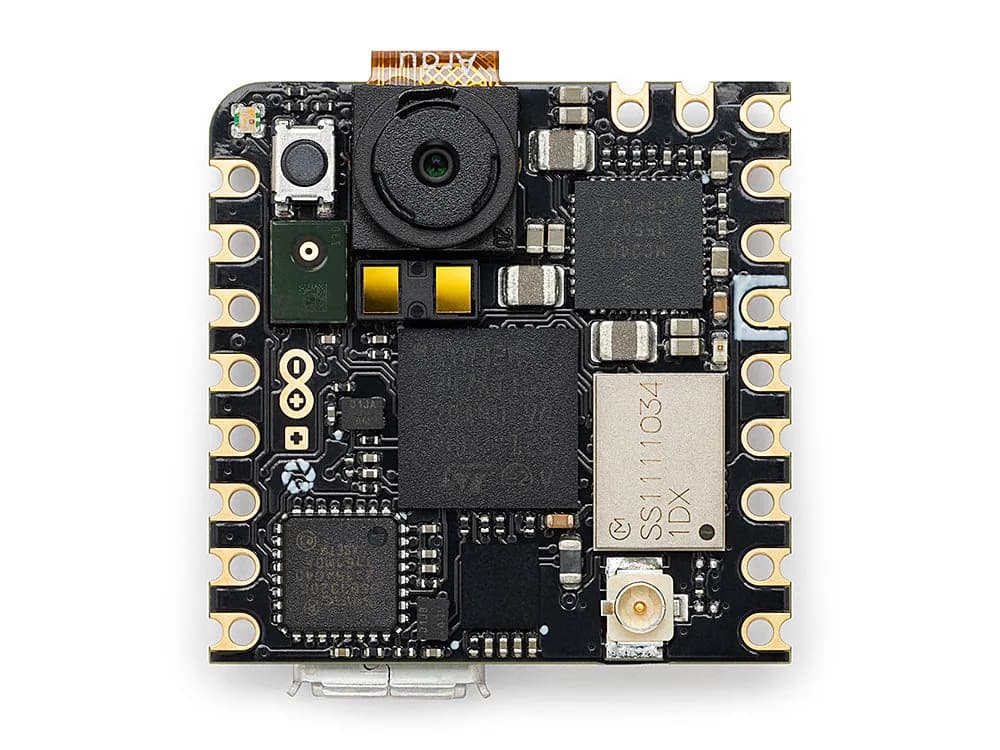
Nicla Vision
Compact machine-vision board with a 2 MP camera, dual-core STM32H7, microphone, IMU and time-of-flight distance sensor.
- Platform
- STM32H747A dual-core Cortex-M7/M4
- Builds
- 02