Who this is for
Beginners and Python developers who want a small status display, weather panel or sensor gadget without a compile-and-flash cycle for every edit.
Before you start
Have these basics ready before choosing parts or flashing firmware.
- A supported board, USB data cable and a computer that can mount the CIRCUITPY drive.
- The current stable CircuitPython build for the exact board and a matching library bundle.
- Wi-Fi credentials stored outside published code if the project fetches data.
Pick the board by data source
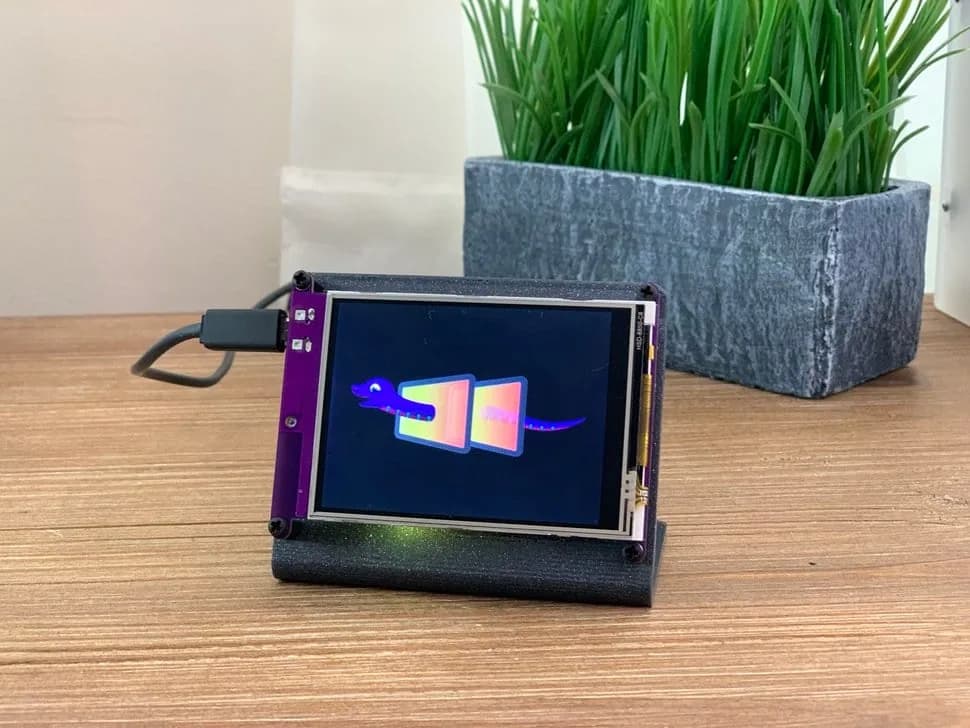
PyPortal: The project is primarily a larger touch-enabled internet display.
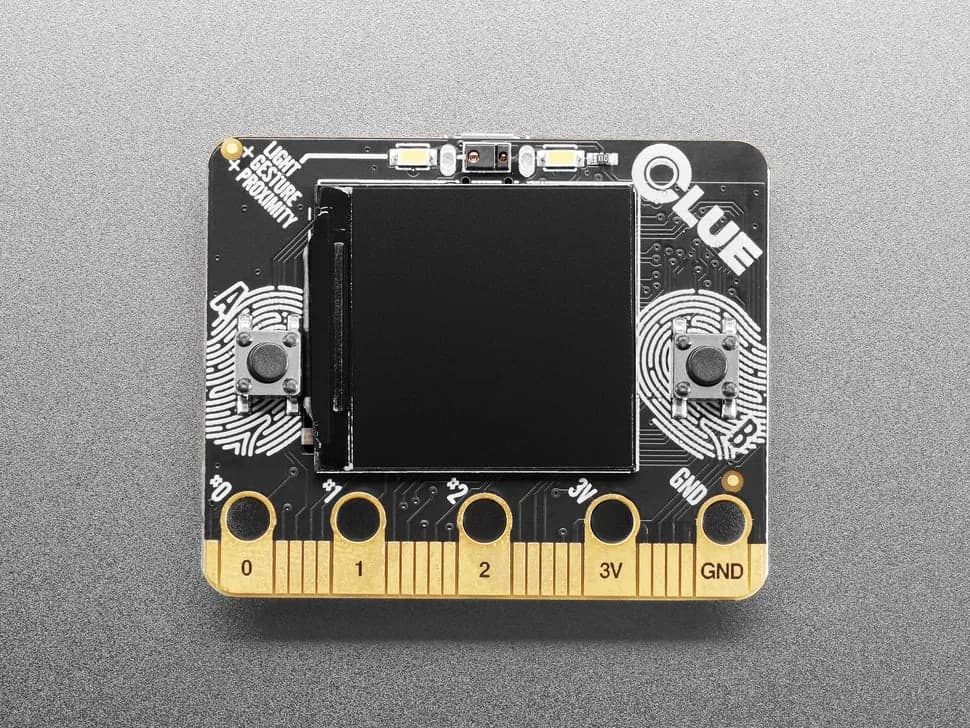
CLUE: Built-in sensors and Bluetooth matter more than Wi-Fi.
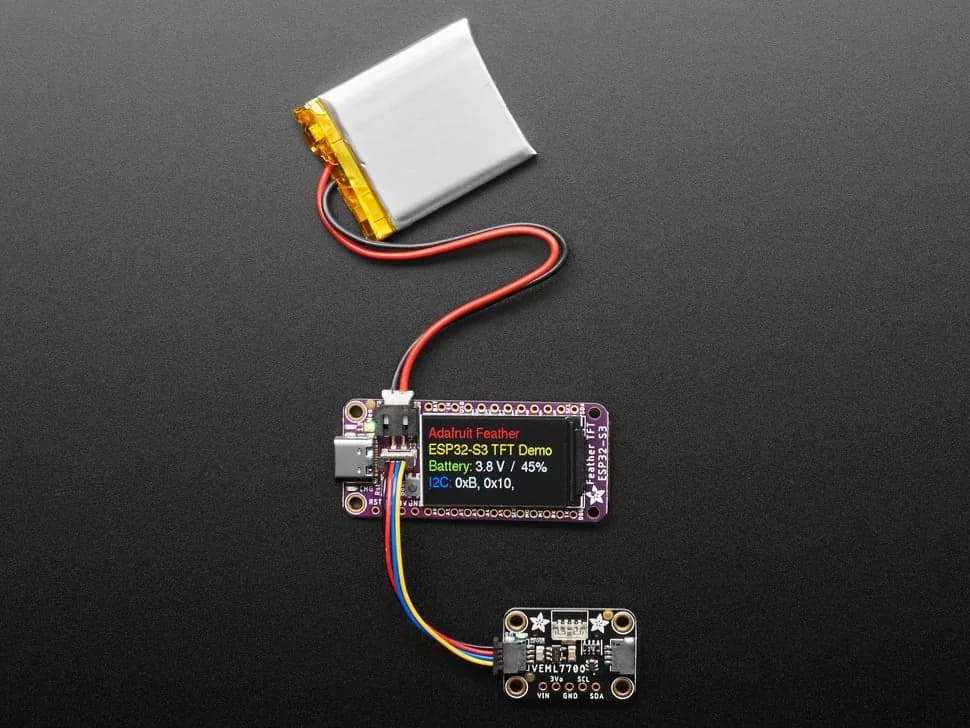
Feather ESP32-S3 TFT: You want Wi-Fi/Bluetooth, battery support and a small screen in a custom enclosure.
Install the exact CircuitPython build
Download firmware for the precise board name, enter the documented bootloader mode and copy the image as instructed. Confirm that CIRCUITPY remounts and that the serial console shows a clean prompt.
- Do not use a build for a visually similar board.
- Note the CircuitPython major version.
Create a minimal project layout
Start with code.py, a lib directory and an assets directory only if needed. Copy individual libraries from the bundle that matches the installed CircuitPython major version rather than copying the entire bundle.
- Keep secrets.py or settings.toml out of public repositories.
- Commit source and tiny assets, not generated caches.
Render a static screen
Draw a title, one value and one status indicator before reading sensors or the network. Use the board guide’s display object and keep colors, fonts and bitmap sizes modest for available memory.
- Refresh only when content changes.
- Test the longest text you expect.
Add one local input
Read one onboard sensor, button or touch point and update a single label. The CLUE sensor plotter is a useful example of separating sampling from drawing.
- Use a fixed update interval.
- Clamp or format noisy values before display.
Add network data carefully
For Wi-Fi boards, connect once, fetch a small documented endpoint and handle timeout, malformed data and offline startup. Cache the last good value and show its age rather than clearing the screen when the network fails.
- Limit request frequency.
- Do not embed private API keys in screenshots or repositories.
Package and observe
Run from battery or the intended supply for several hours, watching memory, refresh behavior and reconnects. Add a reset path and design the enclosure so USB remains accessible.
- Log exceptions over serial.
- Document library versions that produced the working build.
Safety and privacy notes
Use a reputable power source and protect exposed boards from conductive surfaces. Network dashboards should reveal only the data needed for their location; store credentials outside shared source code and avoid displaying sensitive calendar, location or account details in public spaces.
- Disconnect power before changing attached hardware.
- Respect API terms and rate limits.
Troubleshooting
CIRCUITPY does not appear. Try a known data cable, use the board-specific boot/reset sequence and confirm the bootloader volume before copying firmware.
Imports fail after an update. Replace libraries with versions from the bundle matching the installed CircuitPython major release.
The board resets or reports memory errors while drawing. Reduce bitmap/font size, avoid recreating display groups in the loop and update only changed elements.
Next steps
Keep the next experiment small and reproducible.
- Render a static “hello” screen.
- Add one local sensor or button.
- Add one network request only after an hour-long local test.