Feather ESP32-S3 TFT setup and examples
Use Adafruit's first-party hardware guide to configure CircuitPython or Arduino and exercise the TFT, Wi-Fi and peripherals.
View original project ↗What you’re building
Adafruit’s Feather ESP32-S3 TFT guide documents two supported development paths for the board: CircuitPython through a drag-and-drop CIRCUITPY drive, or Arduino through Espressif’s board package. Both workflows expose the Feather’s ESP32-S3, built-in 1.14-inch color TFT, Wi-Fi/Bluetooth radio, battery support, NeoPixel, buttons, and STEMMA QT expansion for experiments and product prototypes. A successful setup either boots CircuitPython from a copied UF2 and accepts edited code.py files, or compiles and runs Arduino sketches selected for Adafruit Feather ESP32-S3 TFT. A known-good data cable is essential. The Arduino path requires a manual reset after upload according to the guide, and the ESP32-S3 USB bootloader is unsupported on Windows 7 and 8.
Key steps
- Choose CircuitPython or Arduino and connect the Feather directly with a known-good data-sync cable.
- For CircuitPython, double-tap reset during the purple status LED, then copy the board-specific UF2 to FTHRS3BOOT.
- Confirm CIRCUITPY appears and copy or edit code.py plus any required libraries for the chosen hardware example.
- For Arduino, add Espressif’s board index, install the ESP32 package, and select Adafruit Feather ESP32-S3 TFT.
- Upload a TFT or peripheral sketch and press reset afterward when using the Arduino workflow.
Original project and code
Original project pages, manufacturer documentation and repositories used while preparing this page. Last reviewed .
Hardware for this project
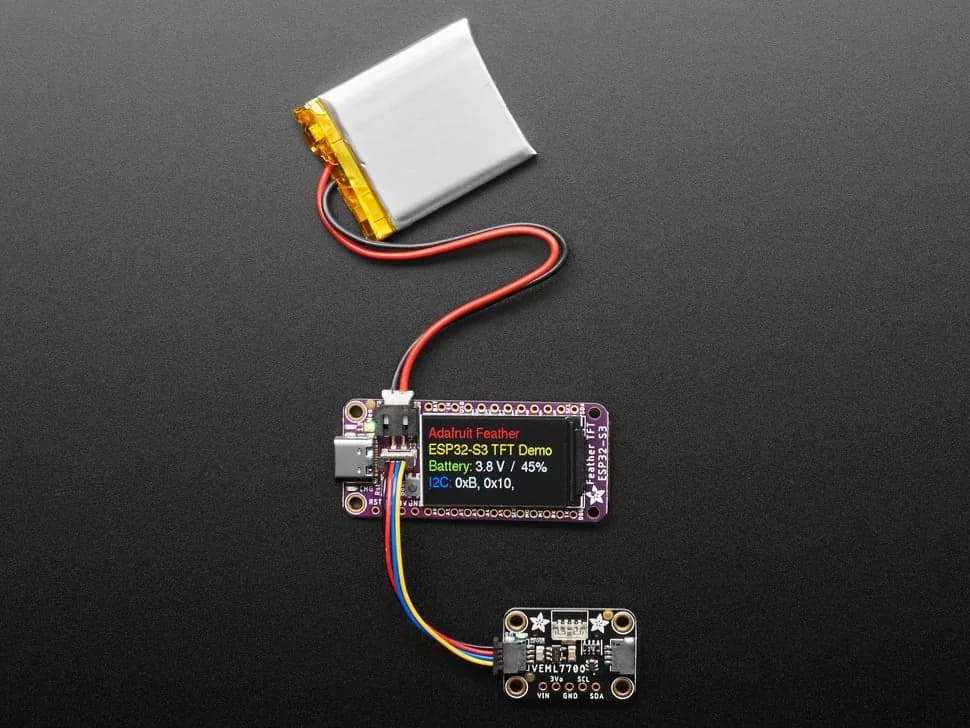
Feather ESP32-S3 TFT
Feather-format ESP32-S3 board with built-in 1.14-inch color TFT, battery charging and STEMMA QT expansion.
- Platform
- Espressif ESP32-S3, CircuitPython/Arduino · Circuitpython
- Builds
- 01