np2 TAB5 PC-9801 emulator
Turn an ST7123 or ST7121 Tab5 into a PC-9801 emulator, starting with the project's built-in compatible BIOS before adding your own lawful disk images.
View original project ↗What you’re building
np2 TAB5 adapts the np2 espresso and np2kai PC-9801 emulator lineage to M5Stack's ESP32-P4 tablet. Its author documents a built-in compatible BIOS and public-domain font, so a blank FAT32 microSD card is enough for the first boot checkpoint; a commercial ROM dump is not a prerequisite. Check the rear screen-controller sticker first: the pinned README explicitly excludes the original ILI9881C revision and identifies ST7123 and ST7121 variants. Use one USB keyboard with the touchscreen as the mouse for a small initial setup; the project warns against simultaneous USB keyboard and mouse use. M5Burner is the author's recommended installation route, while the linked source revision gives a reproducible ESP-IDF v5.5 build baseline, not v6.x. F11, F12 or Pause opens the emulator menu; select a lawful disk image and leave with Reset to mount it. This is a documentation-led project listing, not a Flashable hardware test or a promise that every PC-98 program works. Protected mode is unsupported and MIDI is omitted. Keep a factory-firmware recovery route and back up the card before experimenting.
Key steps
- Check the rear screen-controller sticker against the pinned README. Stop if it says ILI9881C; back up existing firmware settings and card contents and keep M5Stack's factory-restore instructions available.
- For the author's recommended route, find np2 TAB5 in M5Burner's TAB5 firmware list and compare its current notes with your hardware. A live catalogue entry is not guaranteed to contain the pinned source revision.
- For the source route, clone the repository from the Source code link and check out the exact revision shown in that URL. Activate ESP-IDF v5.5, retain dependencies.lock and run idf.py build; the target is already esp32p4 in sdkconfig.defaults.
- Connect the Tab5 over USB-C; hold Reset until the green LED flashes rapidly, then release for download mode. From the source build, run idf.py -p <PORT> flash monitor with the actual serial port; exit the monitor with Ctrl-].
- Insert a blank FAT32 microSD card and check the built-in compatible BIOS first. Connect one USB keyboard and use touch for mouse input; do not assume a USB hub removes the project's keyboard-plus-mouse restriction.
- Only after the baseline works, put a disk image you are entitled to use in the card root. Open the menu with F11, F12 or Pause, choose FDD1, FDD2 or HDD, and leave with Reset. Record the installed revision and input devices before changing settings.
Original project and code
Hardware for this project
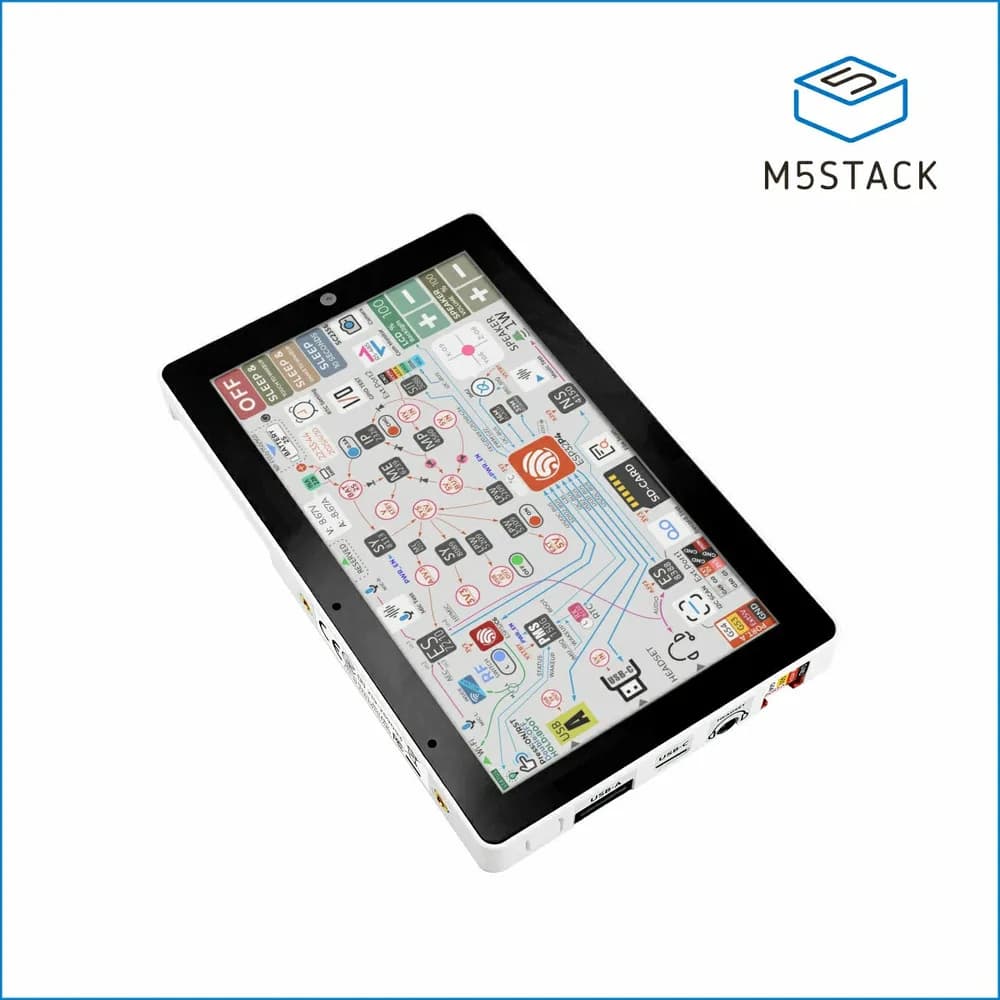
Tab5
5-inch 1280×720 ESP32-P4 touch terminal with ESP32-C6 Wi-Fi 6, a 2 MP camera, audio, USB host, RS485 and M5-Bus expansion; battery depends on the C145 or K145 package.
- Platform
- ESP32-P4 RISC-V with 16 MB flash and 32 MB PSRAM; ESP32-C6 wireless companion; ESP-IDF/Arduino/UiFlow2 · Arduino
- Builds
- 02