Who this is for
Tab5 owners exploring PC-98 software who want a recoverable first experiment rather than a promise of universal game compatibility. Use the linked np2 TAB5 revision for this setup. Neither the firmware nor an emulated BIOS grants rights to commercial disk images.
Before you start
Have these basics ready before choosing parts or flashing firmware.
- A Tab5 whose rear sticker identifies ST7123 or ST7121, a USB-C data cable and a computer; stop for ILI9881C, which the pinned README excludes.
- A backed-up FAT32 microSD card and one USB keyboard. Use the touch panel as the mouse for the initial setup.
- A copy of M5Stack's factory-restore instructions and backups of existing application settings. For source compilation, install and activate ESP-IDF v5.5.
Check the screen before selecting firmware
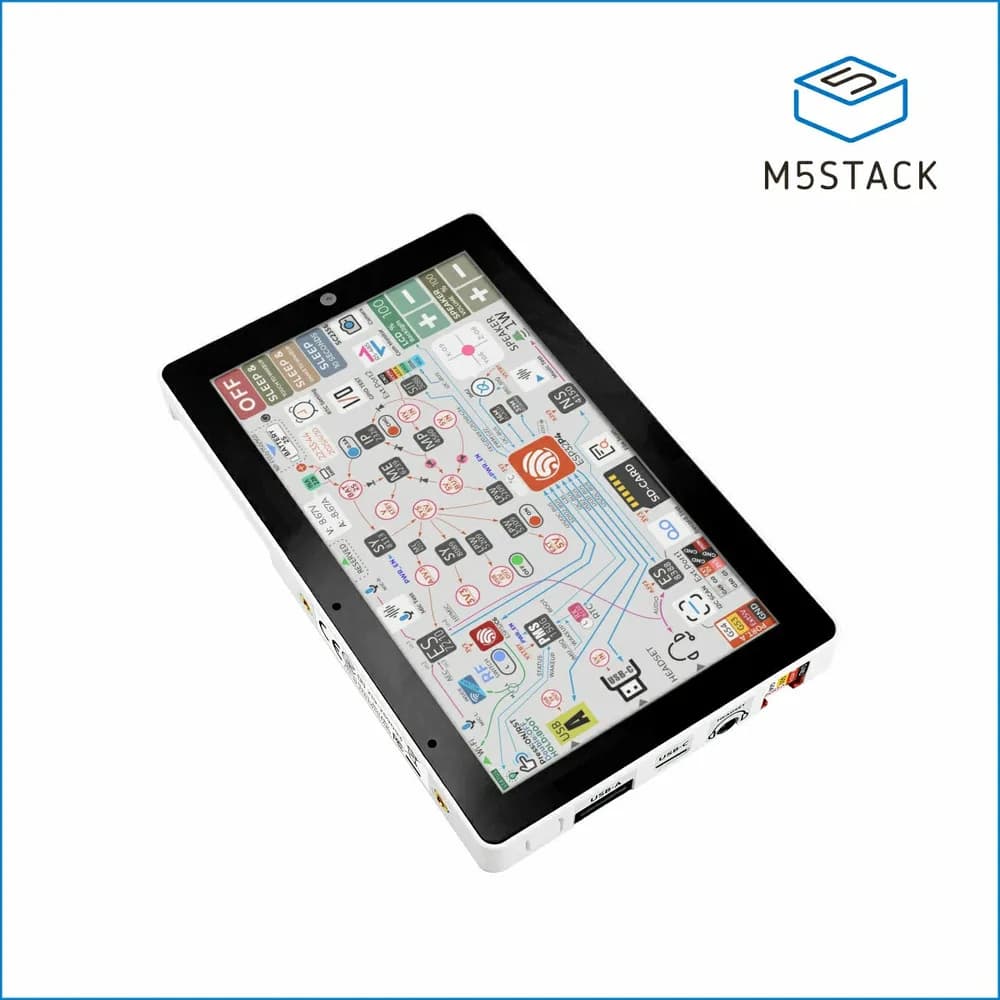
Tab5 is an ESP32-P4 device, not an ESP32-S3 board with a larger display. More importantly for this project, the same product name spans three screen-controller configurations. M5Stack documents the original ILI9881C/GT911 arrangement, the ST7123 replacement and the later ST7121 change. Check the rear sticker instead of inferring compatibility from the purchase date.
The pinned np2 TAB5 README explicitly says ILI9881C is unsupported because it could not be tested on real hardware. Do not override that warning just because a dependency or source file mentions the older controller. If you have that revision, keep the factory-firmware workbench as your baseline instead. For ST7123 or ST7121, continue with the author's instructions but still verify the physical display yourself.
- Record the screen-controller marking before flashing.
- Keep the old application and card contents backed up separately.
Choose a convenient installer or a pinned build
The author recommends finding np2 TAB5 in M5Burner's TAB5 firmware list. That is the convenient route, but a changing catalogue entry is not evidence that you installed the exact Git revision linked here. Read its current notes and record the displayed version. If the entry is missing or its hardware notes differ, stop rather than substituting an ESP32-S3 np2 espresso binary.
For an auditable source baseline, clone the repository from the build's Source code link and check out the exact revision shown in that URL. Activate your ESP-IDF v5.5 environment from its actual installation path, retain dependencies.lock, then run idf.py build at the project root. The README says v6.x will not build; do not interpret the component manifest's broader minimum version as a tested v6 compatibility promise. sdkconfig.defaults already selects esp32p4, so the documented procedure has no set-target step.
Connect USB-C with a data cable. M5Stack's download-mode procedure is to hold Reset for about two seconds until the internal green LED flashes rapidly, then release. For the source build, run idf.py -p <PORT> flash monitor, replacing <PORT> with the actual serial port. Exit the monitor with Ctrl-]. Do not begin with erase-flash: replacing firmware and deliberately clearing saved settings are separate operations.
- Record installer version or source commit, toolchain and screen marking together.
- Retain the project's dependency lockfile rather than updating components during the first experiment.
Prove first boot before adding a disk image
The project supplies its own compatible BIOS and a public-domain font according to its README. Start with a blank FAT32 microSD card: the first milestone is reaching that built-in BIOS, not loading a particular game. This separates firmware and display failures from disk-format or application problems. There is no need to obtain a commercial BIOS dump just to reach this checkpoint.
Connect one USB keyboard and use the touchscreen as the mouse. The README warns that a USB keyboard and USB mouse cannot be used simultaneously; a hub is not a documented workaround for that limitation. Bluetooth support is BLE only, and peripherals that require a pairing passcode are unsupported. Leave Bluetooth out of the first attempt so pairing problems cannot obscure whether the emulator and its menu work.
- Open the menu using F11, F12 or Pause.
- Check touch and keyboard separately before adding more peripherals.
Mount one lawful image and keep recovery separate
Once the baseline works, put a disk image you own or have permission to use in the microSD root. The README names .NFD and .NHD among supported images. Open the menu, select the image for FDD1, FDD2 or HDD as appropriate, and leave with Reset so the emulated machine reboots with it mounted. Keep a pristine copy of the image on your computer before experimenting with writes or settings.
A mounted disk does not establish application compatibility. The project's default 80286 plus 386-instructions option supports real-mode software using those instructions, not protected mode; MIDI is omitted. Do not translate those features into a claim that all PC-98 games run. If the physical device becomes unusable, return to M5Stack's factory-restore procedure through M5Burner and download mode rather than troubleshooting a game image against an unknown firmware state.
- Add one image at a time and record its source and format.
- Preserve the working firmware identification before changing CPU or input settings.
Software rights and reversible experiments
Use only disk images and optional ROM files you are entitled to use. The author's compatible BIOS does not license other software. Back up the card and existing application data before replacing firmware. No performance, battery-life or physical compatibility result is claimed by Flashable.
- Avoid full-chip erase as a first troubleshooting step.
Troubleshooting
The display stays blank. Recheck the controller sticker and the installed project's hardware notes. ILI9881C is excluded by this baseline; use the official factory recovery route rather than assuming a disk image caused the failure.
The build fails with ESP-IDF v6.x. Return to the README's v5.5 baseline and original dependencies.lock before diagnosing application code.
The menu opens but the disk does not boot. Check FAT32, card-root placement, the selected FDD/HDD slot and the Reset menu exit. Test one known lawful image; a working BIOS does not guarantee that image's software is compatible.
A keyboard works but a USB mouse does not. Use touch as the mouse for the initial setup. Simultaneous USB keyboard and mouse use is explicitly unsupported by the project's README.
Next steps
Keep the next experiment small and reproducible.
- Save the working commit or installer version, screen marking and input-device details.
- Keep the blank-card first-boot checkpoint reproducible before testing another disk image.