PC/XT emulator for PicoVision
Run the project's PC/XT emulator frontend on PicoVision with CGA output, USB HID keyboard and mouse input, and a hard-disk image loaded from microSD.
View original project ↗What you’re building
Probably Average Computer Emulator includes a PicoVision frontend that emulates an early PC/XT-class system and sends CGA video through PicoVision’s display output. The source supports USB HID keyboard and mouse input and loads one hard-disk image named hd0.img from microSD. Its firmware build uses the Pico SDK plus Pimoroni’s PicoVision libraries, while legally obtained XT-compatible BIOS files must be placed at the repository root before compilation. The expected outcome is a self-contained retro-computing system that boots a disk image and accepts USB input on a connected display. PicoVision support is explicitly limited to a single hard disk, software images are not supplied, and repository CI should be consulted for the tested PicoVision dependency revision before building.
Key steps
- Clone the emulator, Pico SDK, and Pimoroni PicoVision sources, matching the PicoVision revision used by the emulator’s CI workflow.
- Place the required XT-compatible BIOS files at the emulator repository root.
- Configure the PicoVision CMake build with the Pico SDK path and the PicoVision dependency available, then compile the firmware target.
- Flash the resulting PicoVision firmware to the board and put a bootable hard-disk image named hd0.img on microSD.
- Connect PicoVision directly to the display, attach USB HID input through the supported accessory path, power the system, and verify the disk boots.
Original project and code
Original project pages, manufacturer documentation and repositories used while preparing this page. Last reviewed .
Hardware for this project
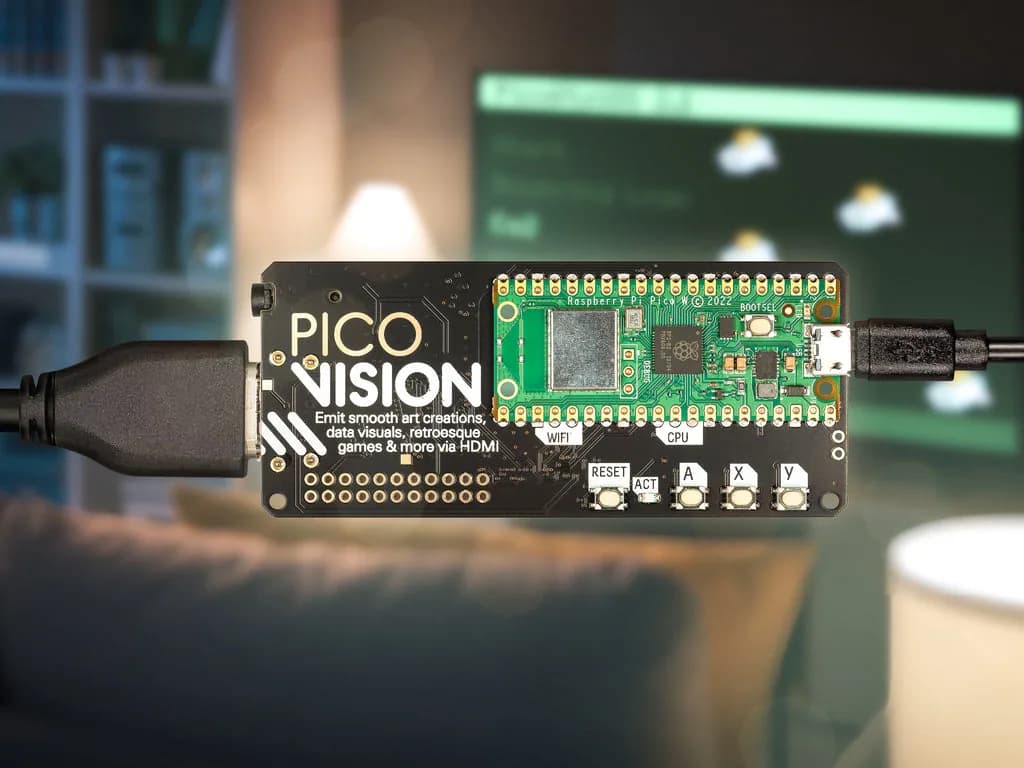
PicoVision
Dual-RP2040 digital video board that generates 720p HDMI/DVI output and supports microSD-backed graphics projects.
- Platform
- Dual Raspberry Pi RP2040, MicroPython/C++ · Micropython
- Builds
- 02