PicoVision official graphics stack
Official PicoVision firmware, MicroPython modules and examples demonstrate high-resolution digital video output and graphics.
View original project ↗What you’re building
Pimoroni’s PicoVision repository supplies its official MicroPython firmware, drivers, documentation, and graphics examples for the dual-RP2040 PicoVision board. The examples range from basic drawing, screen modes, scroll groups, vector clocks, and starfields to larger demonstrations such as a magic mirror, alerts, games, and sensor displays. Installing the prebuilt firmware gives MicroPython access to PicoVision’s digital video pipeline, after which scripts can be transferred with Thonny, Mu, or mpremote and displayed on an attached HDMI/DVI monitor. Two firmware choices trade capability: the normal build supports standard resolutions and up to 80 sprites, while the widescreen build reaches at most 1280×720 at 30 Hz with limited display support and only 32 sprites. MicroPython does not leave a writable USB drive mounted after reboot, so examples must be transferred through an interpreter tool.
Key steps
- Choose the normal release UF2 for up to 80 sprites or the widescreen UF2 for limited 1280×720/30 Hz support and up to 32 sprites.
- Connect PicoVision by USB, hold BOOTSEL, tap RESET, and wait for the RPI-RP2 drive.
- Copy the selected PicoVision UF2 to RPI-RP2 and let the board restart into MicroPython.
- Connect a compatible display and open the board from Thonny, Mu, or mpremote because no persistent USB drive remains.
- Transfer one repository example and any associated assets, then run it and verify stable video output.
Original project and code
Original project pages, manufacturer documentation and repositories used while preparing this page. Last reviewed .
Hardware for this project
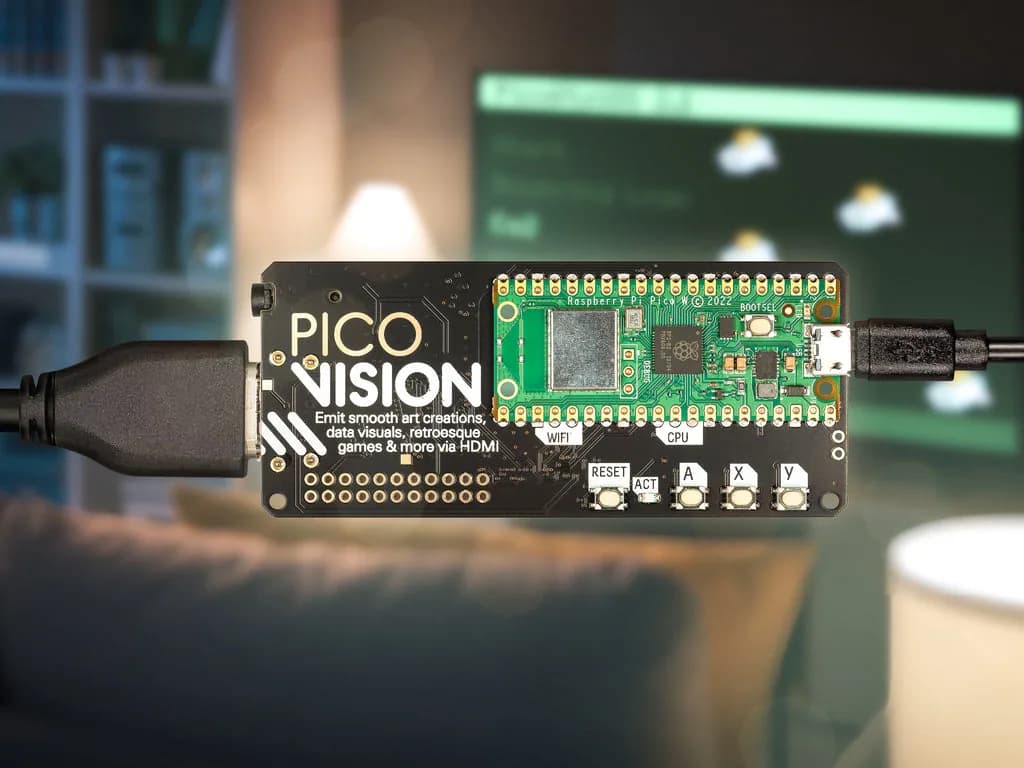
PicoVision
Dual-RP2040 digital video board that generates 720p HDMI/DVI output and supports microSD-backed graphics projects.
- Platform
- Dual Raspberry Pi RP2040, MicroPython/C++ · Micropython
- Builds
- 02