Who this is for
Experienced Pico SDK users who want a documented retro-computing project that exercises PicoVision's video output, PSRAM and USB host support.
Before you start
Have these basics ready before choosing parts or flashing firmware.
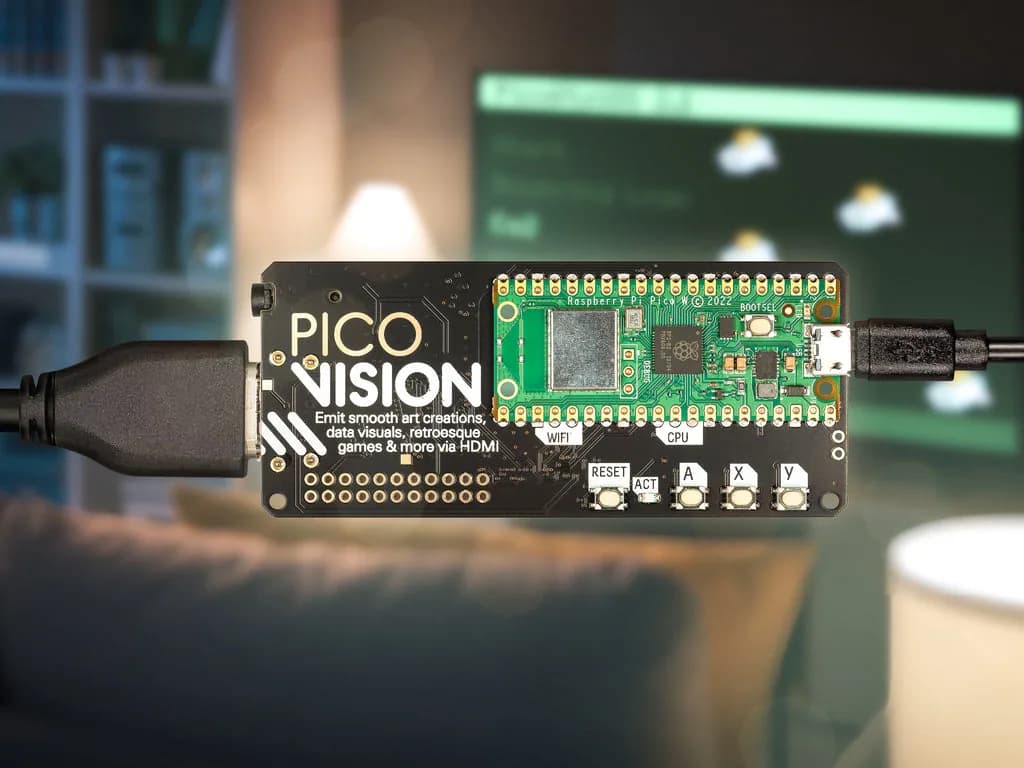
- A PicoVision, HDMI display and cable, micro-USB data/power cable, accessory injector cable, microSD card, and USB HID keyboard.
- A working CMake toolchain plus local Pico SDK and Pimoroni PicoVision source checkouts; use the emulator's current CI workflow to identify its tested PicoVision revision.
- XT-compatible BIOS and disk images that you are legally permitted to use.
Prove the PicoVision setup first
Follow Pimoroni's getting-started guide to connect the display and power, verify the board, and understand BOOTSEL and RESET before replacing the bundled MicroPython firmware.
Before compiling the emulator, run one of Pimoroni's supplied PicoVision examples and write down the board revision, display mode and power arrangement that worked. This separates basic board, cable and monitor problems from CMake or emulator faults. The emulator repository can then be tested against a known-good PicoVision setup rather than several unverified variables at once.
- Keep a current PicoVision MicroPython UF2 available so you can restore the board.
- Confirm the display and USB cabling before debugging the emulator build.
Build the PicoVision frontend
Clone the emulator repository, place the required BIOS files at its root, and configure the documented build with the Pico SDK and Pimoroni PicoVision source paths. Compile the PicoVision target without changing emulator defaults first.
- Use the repository's default branch, read its current README, and check its CI workflow for the tested PicoVision source revision before compiling.
- Do not download BIOS or operating-system images from untrusted or unauthorized sources.
Prepare storage and input
Put the emulator's single supported hard-disk image at hd0.img on the microSD card. Connect PicoVision directly to the HDMI display. Plug the keyboard into the accessory injector's USB-A port, connect the micro-USB power/data cable to the injector's micro-USB socket, and plug the injector into PicoVision before booting.
- Start with a small known-good disk image you have permission to use.
- Keep an untouched backup of the card image before testing writes.
Troubleshooting
CMake cannot configure the PicoVision target. Confirm the Pico SDK and Pimoroni PicoVision source paths resolve to compatible checkouts, compare the emulator's current CI workflow, and re-read its build command.
The emulator starts but cannot boot a disk. Check that the microSD card is readable and that the hard-disk image is named exactly hd0.img.
Video or input is unstable. Return to the PicoVision getting-started checks, simplify to one keyboard, and verify the HDMI display and power path independently.
Next steps
Keep the next experiment small and reproducible.
- Boot a minimal known-good image without customizing the emulator.
- Record the Pico SDK and emulator commit used for the working build.
- Add further USB HID input only after keyboard and display output are stable and you have confirmed a compatible connection arrangement.