Who this is for
Programmers and game-design beginners deciding between a deliberately tiny Arduino handheld and a more capable commercial handheld SDK.
Before you start
Have these basics ready before choosing parts or flashing firmware.
- An Arduboy FX-C or Playdate and the platform’s supported development environment.
- Basic programming in C++ for Arduboy or Lua/C for Playdate.
- A one-sentence game rule and simple original placeholder art/audio.
Choose by constraint and distribution
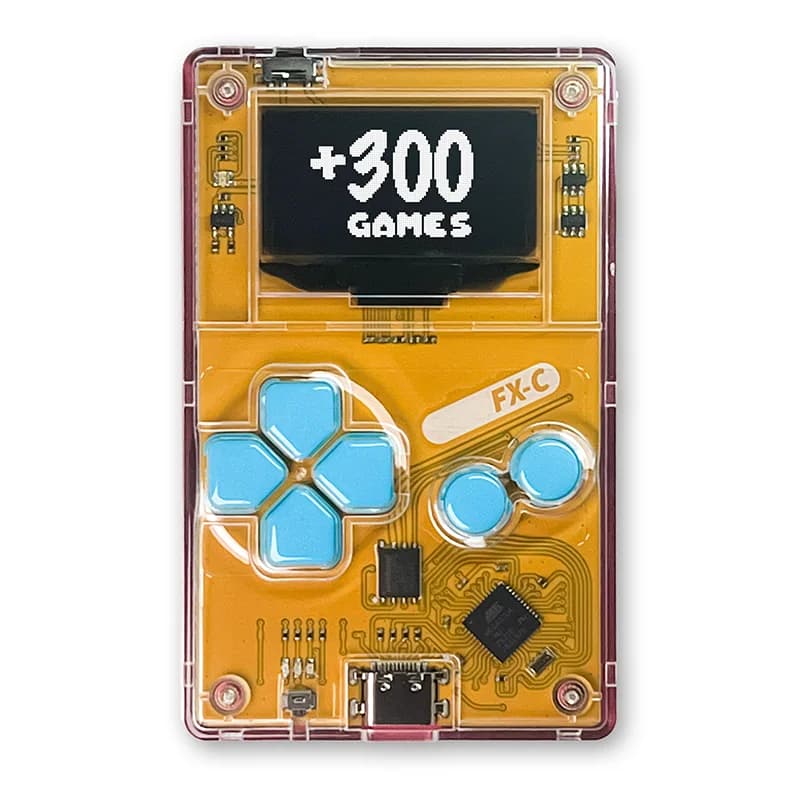
Arduboy FX-C: You enjoy microcontroller constraints, Arduino C++ and a 1-bit minimalist presentation.
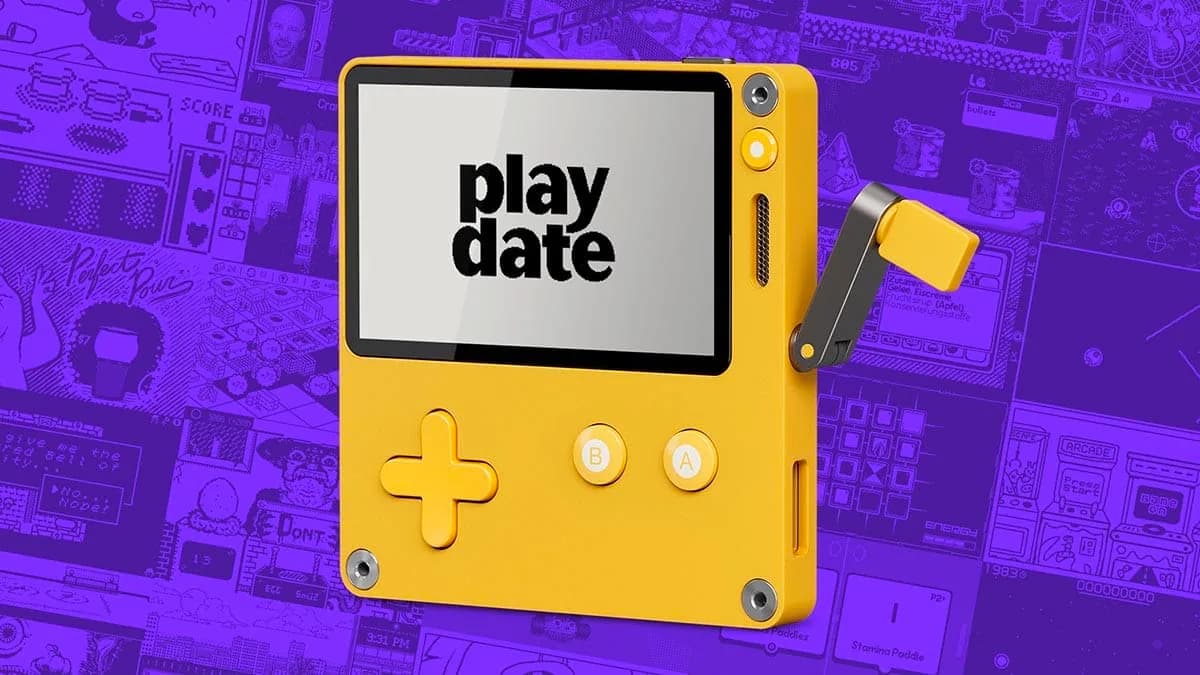
Playdate: You want Lua iteration, a simulator, richer audio/display capability and crank-specific design.
Choose one mechanic
Write one sentence: “The player does X to avoid or collect Y.” Pick a mechanic that fits the native controls and can be demonstrated without menus or a tutorial.
- One playable character or cursor.
- One goal and one fail condition.
Install the supported toolchain
For Arduboy, begin with the Arduboy2 library examples in a supported Arduino environment. For Playdate, install the official SDK, run a sample in the simulator and confirm deployment to hardware.
- Keep the untouched sample building.
- Record toolchain and SDK versions.
Build the game loop
Implement input, update and draw as separate steps. Use fixed or bounded timing, reset state from one function, and keep collision rules simple enough to inspect.
- Display a score or clear progress state.
- Make restart take one button.
Design for the actual screen
Use high-contrast silhouettes and test on hardware early; simulator scaling can hide unreadable details. On Playdate, use the crank only when it improves the mechanic rather than as decoration.
- Avoid tiny text.
- Test motion for flicker and clarity.
Study examples without copying
Read an example to learn project structure, asset loading and input patterns, then write your own small loop. Check repository licenses before reusing code, art or audio, and preserve required notices.
- Keep a third-party-attribution file.
- Use original placeholder assets by default.
Finish and package
Add a title, pause or exit behavior, one-minute playtest and clear version number. Give the build to another person without explanation and fix the first point where they cannot start, understand or restart.
- Package only required assets.
- Write controls in one screen or README.
Safety and legal notes
Use code, fonts, art, music and sound only under licenses that permit your intended distribution. Follow each platform’s publishing rules and age/content requirements, and avoid flashing unofficial images to hardware unless you understand the recovery and warranty implications.
- Credit dependencies exactly as their licenses require.
- Use headphones and sound levels responsibly during repeated testing.
Troubleshooting
The game timing differs between simulator and device. Use the platform timing APIs, avoid frame-rate assumptions and profile on hardware.
The build no longer fits or runs reliably. Remove unused assets, inspect memory/storage limits and revert to the last known-good milestone.
Controls feel unresponsive. Separate edge-triggered presses from held input and test button handling at low and high frame load.
Next steps
Keep the next experiment small and reproducible.
- Compile and run an official sample.
- Build a one-screen gray-box prototype.
- Conduct one no-instructions playtest and ship version 0.1.