RetroPie retro-gaming system
Configure a Raspberry Pi as a multi-system retro-gaming setup using the project's installer and management scripts.
View original project ↗What you’re building
RetroPie-Setup is the project’s installer and management script for assembling a multi-system retro-gaming environment around EmulationStation. The documented platforms are Raspberry Pi OS on Raspberry Pi, OSMC on Vero4K, Ubuntu on ODroid-C1, and Ubuntu on a PC; Raspberry Pi users can also choose a prebuilt image instead of running the script. On a Pi, the setup menu can install emulator packages from binaries or compile them from source, then expose the installed systems through the EmulationStation front end. Binary installation is the recommended Pi path because source builds may take a long time, while other supported platforms offer source installation only. The key content constraint is legal rather than technical: RetroPie installs and configures emulator software but does not grant rights to commercial game ROMs or firmware. Users must provide only game files and BIOS images they are legally entitled to use and map controllers for their own hardware.
Key steps
- Install a supported operating system, or choose RetroPie’s prebuilt Raspberry Pi image when a ready-to-go setup is preferred.
- Update APT repositories and packages, install Git, and clone RetroPie-Setup with depth one into the home directory.
- Enter the repository and launch sudo ./retropie_setup.sh, allowing it to install its required setup packages.
- On Raspberry Pi, prefer binary installation for selected emulator packages unless source compilation is specifically needed; use source installs where the platform requires them.
- Start EmulationStation, configure the exact controller, and add only legally obtained ROM and BIOS files in the project’s documented directories before testing each system.
Original project and code
Original project pages, manufacturer documentation and repositories used while preparing this page. Last reviewed .
Hardware for this project
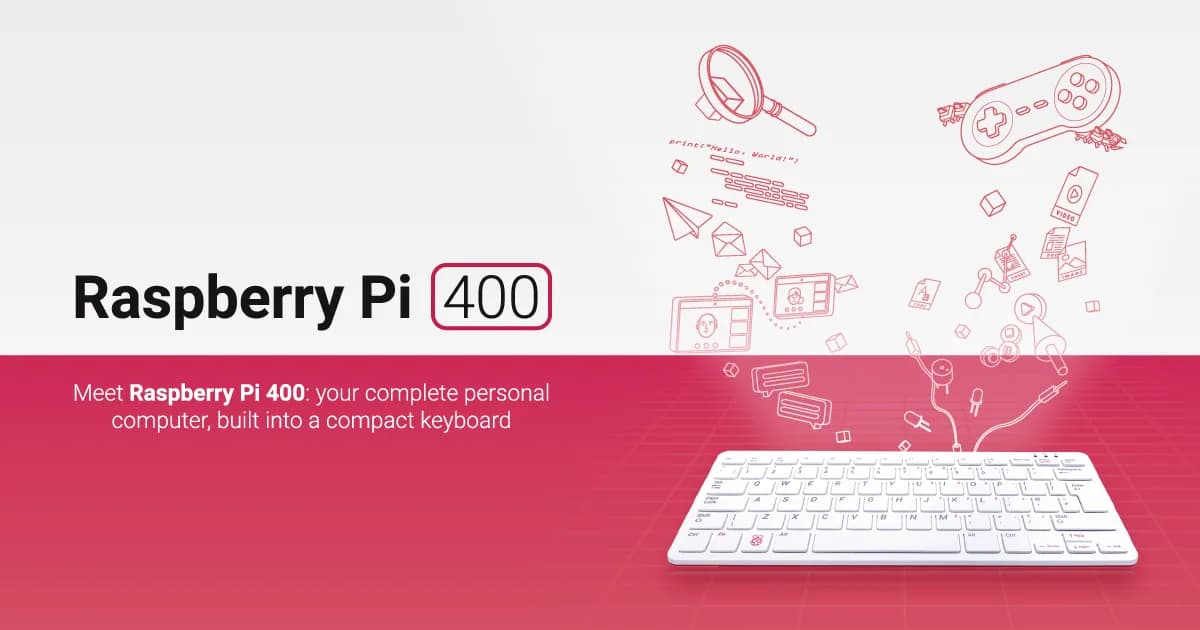
Raspberry Pi 400
Raspberry Pi computer integrated into a compact keyboard, with GPIO, wireless networking and dual micro-HDMI output.
- Platform
- Broadcom BCM2711 quad-core Arm Cortex-A72, Raspberry Pi OS/Linux · Linux
- Builds
- 03