Qualia S3 sushi conveyor belt
Flash a display-specific UF2 to turn a long RGB-666 bar screen into an animated desktop sushi conveyor, with an optional 3D-printed case.
View original project ↗What you’re building
Liz Clark’s first-party project pairs Adafruit Qualia ESP32-S3 product 5800 with one of two exact RGB-666 bar displays: the 3.2-inch 320×820 product 5797 or the 3.7-inch 240×960 product 5799. Adafruit supplies separate precompiled UF2 files for those resolutions, plus MIT-licensed PlatformIO source pinned to the commit that added the release UF2 files. The animation selects sushi-plate bitmaps at random and scrolls them over a display-specific background. This is not generic firmware for every 40-pin panel: the source contains separate timing, initialization and image data for only the two named screens, so choose the UF2 that matches the connected display. The guide’s nigiri enclosure is optional and has separate lid models for each panel; its assembly instructions say to lift the connector bracket carefully, insert the ribbon and press the bracket down gently. Product 5800 is only the controller, and Adafruit marked it out of stock when checked, so confirm controller and panel availability before printing the enclosure or buying accessories.
Key steps
- Confirm the controller is Adafruit product 5800 and identify the exact panel as product 5797 at 320×820 or product 5799 at 240×960; download only the UF2 named for that resolution.
- Back up anything needed from the board, connect it with a data-capable USB-C cable, double-click Reset, pause about half a second, then press Reset again until TFT_S3BOOT appears.
- Copy the matching UF2 to TFT_S3BOOT and let the board reboot. Do not use the 320×820 image on the 240×960 panel or the reverse.
- Lift the Qualia connector bracket carefully, insert the display ribbon squarely, press the bracket down gently and power the board to verify the scrolling animation.
- If using the enclosure, print the lid model for the exact panel plus the rice-box base, remove supports cleanly, seat the display without bending its ribbon and route the USB cable through the rear opening.
- For source changes, start from the pinned PlatformIO project and keep the MIT notices. Leave #define long_display commented for the 320×820 panel or uncomment it for the 240×960 panel, then verify the complete frame, orientation and animation on real hardware before reflashing.
Original project and code
Original project pages, manufacturer documentation and repositories used while preparing this page. Last reviewed .
Hardware for this project
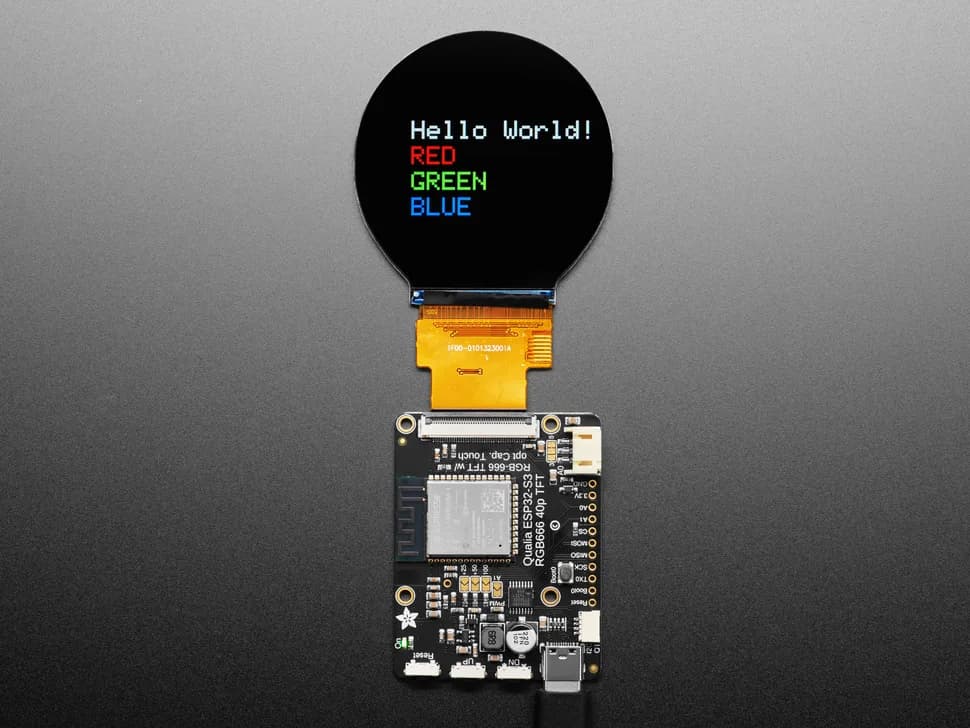
Adafruit Qualia ESP32-S3 for RGB-666 Displays
ESP32-S3 controller for compatible 40-pin RGB-666 TFT displays, with 16 MB flash, 8 MB PSRAM, touch I2C, backlight control, buttons, STEMMA QT and USB-C.
- Platform
- Espressif ESP32-S3 with 16 MB flash and 8 MB octal PSRAM, Arduino/CircuitPython · Arduino
- Builds
- 01