MicroPython on Arduino Nano ESP32
Install MicroPython on the Nano ESP32 and run interactive scripts instead of the standard Arduino workflow.
View original project ↗What you’re building
Arduino’s MicroPython workflow replaces the usual compiled-sketch loop on a Nano ESP32 with an interactive Python runtime. The experimental Arduino MicroPython Installer detects a supported USB-connected board, downloads current firmware, and installs it; afterwards Python code can exercise the Nano’s RGB LED, capacitive-touch pins, ADC, PWM, I2C, UART, SPI, Wi-Fi, and ESP-NOW support. The expected result is a Nano ESP32 that accepts MicroPython scripts and REPL interaction instead of running the previously flashed Arduino sketch. The board uses an ESP32-S3-based u-blox NORA-W106 module and requires a data-capable USB-C connection. Installing MicroPython overwrites the firmware currently on the board, and the installer is labeled experimental pre-release software. Examples must use the MicroPython pin mapping shown by Arduino’s board guide rather than blindly copying Arduino pin-number assumptions.
Key steps
- Download the latest Arduino MicroPython Installer release and extract or open the application for your desktop OS.
- Connect the Nano ESP32 with a data-capable USB-C cable and let the installer detect the board.
- Select the detected Nano ESP32 and install the downloaded MicroPython firmware, accepting that the current sketch is replaced.
- Open a MicroPython REPL or editor and run a small board-specific script, such as RGB LED control.
- Use Arduino’s Nano ESP32 MicroPython pinout when adapting I2C, UART, SPI, touch, ADC, PWM, or ESP-NOW examples.
Original project and code
Original project pages, manufacturer documentation and repositories used while preparing this page. Last reviewed .
Hardware for this project
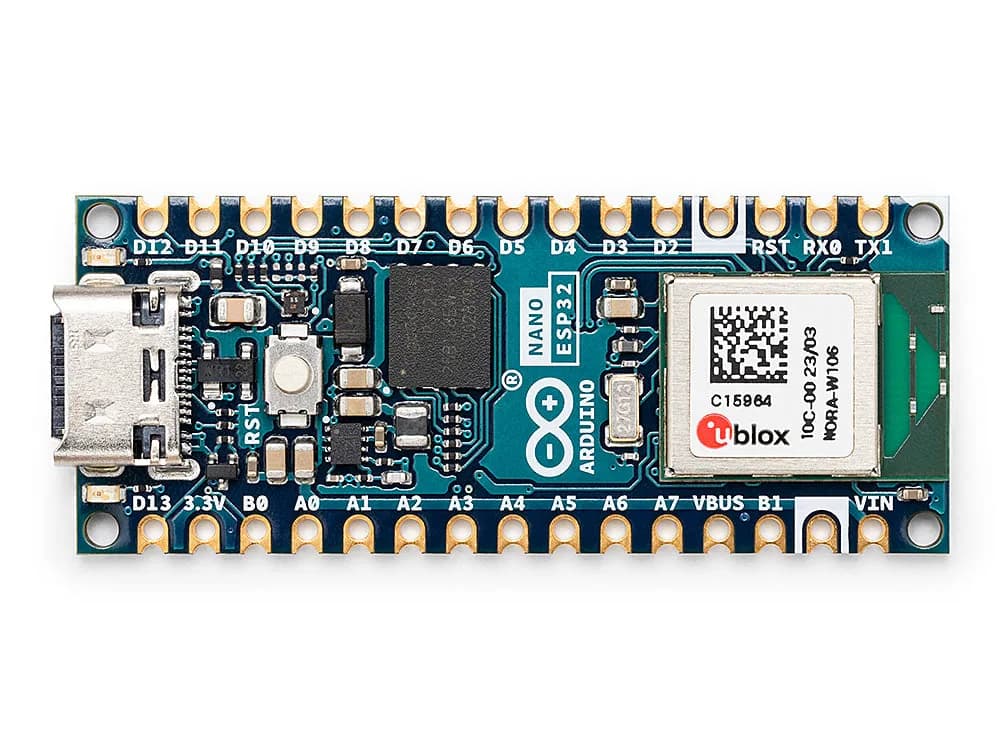
Nano ESP32
Nano-form-factor ESP32-S3 board supporting Arduino and MicroPython workflows with Wi-Fi and Bluetooth LE.
- Platform
- u-blox NORA-W106 module with Espressif ESP32-S3 · Arduino
- Builds
- 02