PiKVM remote computer console
Build an open-source keyboard-video-mouse-over-IP appliance for remotely controlling another computer.
View original project ↗What you’re building
PiKVM is an open-source keyboard-video-mouse-over-IP system that captures a target computer’s HDMI output and emulates USB keyboard, mouse, and optional mass storage, allowing browser control even at BIOS level or when the target OS is broken. The documented DIY path supports Raspberry Pi Zero 2 W with appropriate HDMI-to-CSI or USB capture hardware and board-specific USB wiring. Raspberry Pi 5 is explicitly unsupported because it lacks the GPU video encoders PiKVM relies on. A completed Zero 2 W build can provide low-latency remote console, virtual media, and optional ATX power control after PiKVM OS is flashed and both default passwords are replaced. Match the image and cabling to the documented Zero 2 W design, keep the management interface on a trusted network, and test video plus input locally before depending on it for remote recovery.
Key steps
- Use the supported Raspberry Pi Zero 2 W design and its matching capture and USB wiring; do not substitute a Pi 5.
- With all power disconnected, attach the documented HDMI capture device and board-specific USB OTG/power arrangement.
- Flash the exact PiKVM OS image for that hardware platform to the microSD card and insert it.
- Connect the target’s HDMI output, USB emulation cable, and network before powering the PiKVM.
- Wait for first boot, discover the PiKVM IP address, and open its HTTPS web interface.
- Immediately change both the Web UI admin password and Linux root password, then test KVM input and video.
Original project and code
Original project pages, manufacturer documentation and repositories used while preparing this page. Last reviewed .
Hardware for this project
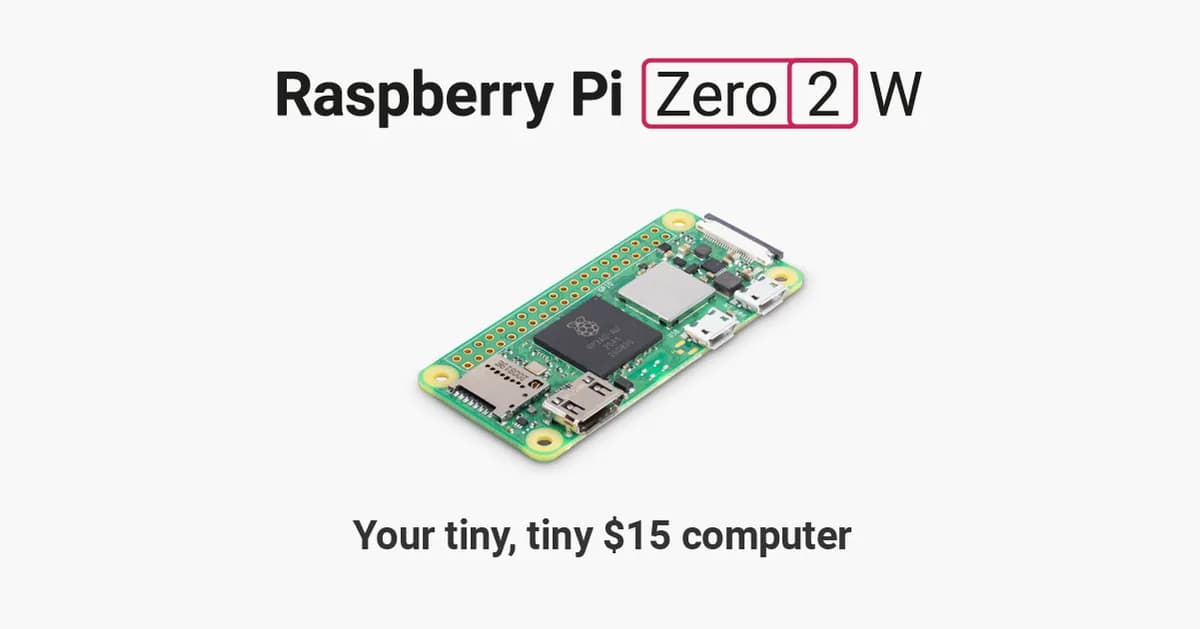
Raspberry Pi Zero 2 W
Compact Linux board with a quad-core Cortex-A53 processor, 512 MB RAM, Wi-Fi, Bluetooth and camera connectivity.
- Platform
- Raspberry Pi RP3A0 quad-core Arm Cortex-A53, Raspberry Pi OS/Linux · Linux
- Builds
- 07