Who this is for
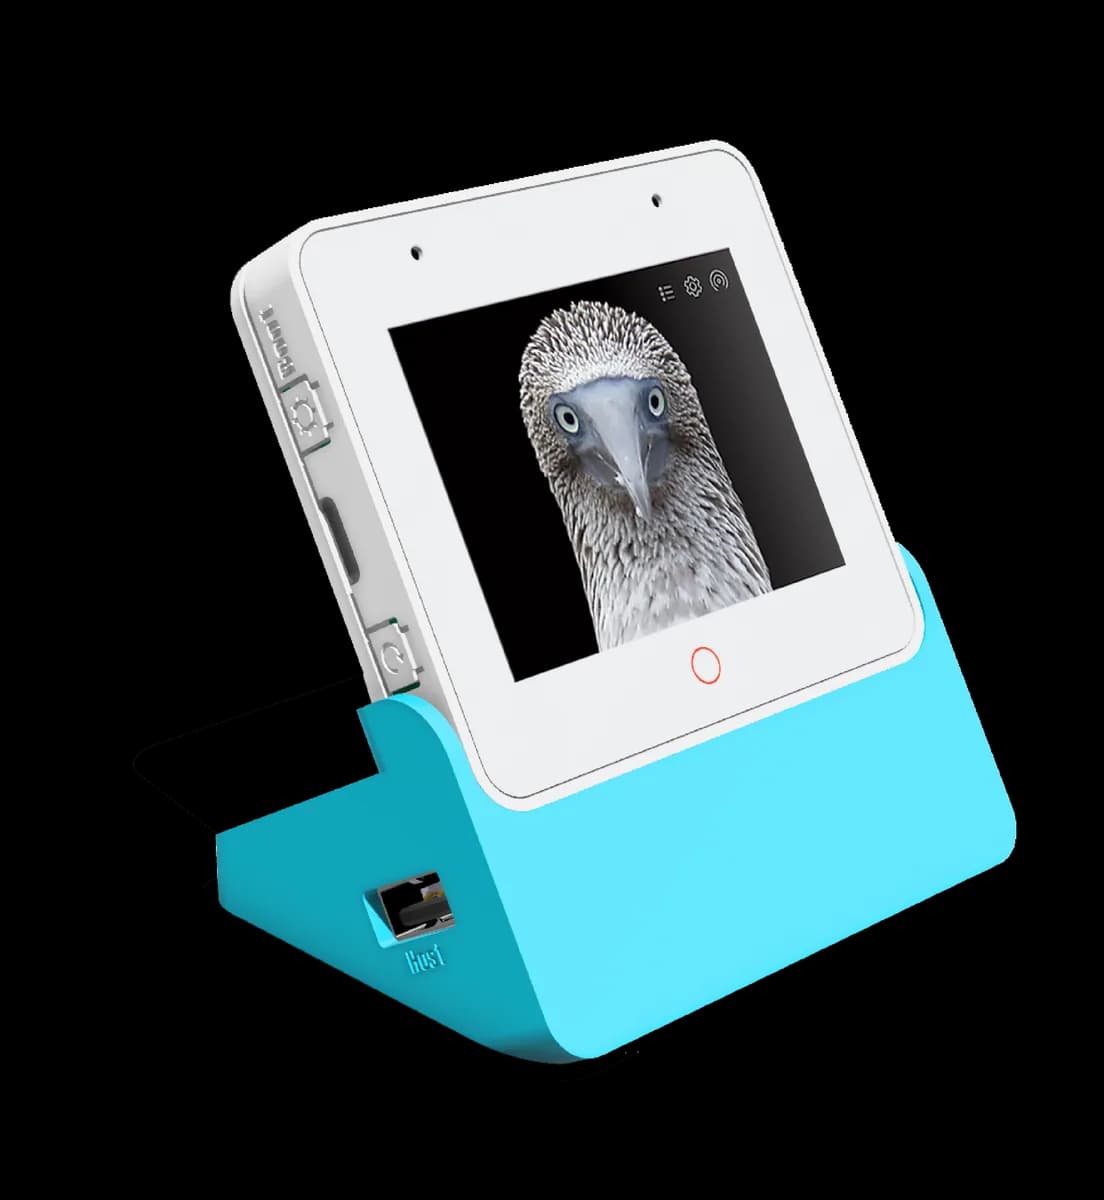
Existing ESP32-S3-BOX-3 and BOX-3B owners who want a supported Home Assistant Assist satellite with a screen, microphone, speaker and wake-word control without first maintaining a custom ESPHome build.
Before you start
Have these basics ready before choosing parts or flashing firmware.
- An ESP32-S3-BOX-3 or ESP32-S3-BOX-3B, a USB-C data cable and a stable USB power supply; earlier BOX and BOX-Lite models use different installer targets.
- Home Assistant 2023.12 or later on Home Assistant OS, plus Home Assistant Cloud or a manually configured Assist pipeline.
- Credentials for a 2.4 GHz Wi-Fi network and a desktop computer running Chrome or Edge; the documented Web Serial installer does not work on phones or tablets.
Choose what runs locally
On-device wake word: You want the BOX-3 to detect its wake phrase locally before opening the Assist audio session.
Wake word in Home Assistant: You want Home Assistant to process the streamed wake-word audio and accept the extra network and server work.
Fully local Assist pipeline: You have separately installed and tested local speech-to-text and text-to-speech services; local wake-word detection alone does not provide this.
Match the exact hardware before flashing
Read the label on the unit rather than selecting firmware from appearance alone. Home Assistant’s tutorial names ESP32-S3-BOX-3 and ESP32-S3-BOX-3B together and supplies a dedicated BOX-3 configuration; ESP32-S3-BOX and BOX-Lite have separate targets. The current BOX-3 YAML identifies the board as esp32s3box and defines its 16 MB flash, PSRAM, S3BOX display, ES7210 audio input and ES8311 output. That board-specific mapping is why a generic ESP32-S3 voice image is not an acceptable substitute.
Record how to restore the factory firmware before experimenting. For the supported first installation, prefer Home Assistant’s precompiled image. Custom YAML can be useful later, but the current upstream configuration requires ESPHome 2026.4.0 or newer and compiling it can overwhelm older or low-memory Home Assistant hosts.
- Keep the dock and sensor accessories disconnected during the initial flash.
- Use a known data-capable USB-C cable, not a charge-only lead.
Prepare Assist before installing the satellite
The BOX-3 is an Assist endpoint, not the whole speech stack. Confirm that Home Assistant can already run an Assist pipeline through Home Assistant Cloud or through manually configured local services. Test a typed Assist command against a non-critical entity first and use the exact area and entity names configured in Home Assistant. This separates pipeline vocabulary or exposure problems from microphone and firmware problems.
Decide what “local” means for this installation. Selecting on-device wake-word processing keeps wake-phrase detection on the BOX-3, but the recognized request can still travel to cloud speech recognition, conversation or speech synthesis services. A fully local path requires those pipeline stages to be configured locally as well. Review which entities Assist can control before putting locks, doors or other sensitive actions within voice reach.
- Verify Home Assistant is reachable from the same network used by the BOX-3.
- Start with a light or another reversible, non-critical command.
Flash and join Home Assistant
Open the official tutorial in Chrome or Edge on a desktop. When instructed, connect USB-C directly to the BOX-3 main unit, not through the blue docking station. Select the newly appearing serial device, choose Install Voice Assistant, and wait for the browser to report completion before configuring the documented 2.4 GHz Wi-Fi connection.
If the serial device never appears, hold the upper Boot button on the left side while tapping the lower Reset button. Select the new port, continue through the installer, and tap Reset again at the point specified by the tutorial. After Wi-Fi provisioning, choose Add to Home Assistant, approve the discovered ESPHome device and assign it to a room. The device can then be moved to a normal USB power supply within Wi-Fi range.
- Do not disconnect power while the firmware write is active.
- Keep Wi-Fi credentials private and confirm the selected network is 2.4 GHz.
Choose wake-word processing and verify the result
Open the BOX-3 device page in the ESPHome integration and select whether the wake-word engine runs On device or In Home Assistant. The current upstream configuration includes Okay Nabu, Hey Mycroft and Hey Jarvis models; use the model list supplied by the installed release rather than relying on an older screenshot or tutorial sentence. Say the selected wake word, issue the already-tested light command and watch the screen progress through listening, thinking and reply states.
Test both the microphone mute entity and the separate screen control. The Home Assistant tutorial describes mute as a software setting, so do not treat it as the same assurance as physically disconnecting the microphone or power. Also create a short timer and confirm the visible countdown and completion sound. These checks prove audio capture, the Assist pipeline, playback, display feedback and timer handling rather than merely proving that Wi-Fi connected.
- Confirm the spoken response describes the action that actually occurred.
- Document the installed firmware release and selected pipeline.
Update without losing a known-good baseline
For an unmodified installation on Home Assistant 2024.7 or later, the first-party tutorial directs users to the firmware update entity exposed for the BOX-3. Use that precompiled path while learning the system. Once YAML is manually changed, updates require a custom compile through the ESPHome dashboard or command line, and Home Assistant warns that compilation may fail on limited hosts. A desktop-class build system is the more reliable custom route.
Change one layer at a time: wake-word model, pipeline, then display or automation customization. After each change, repeat the same light, response, mute and timer checks. This preserves a working comparison point when a later ESPHome release changes a component or deprecates a display driver.
- Use the firmware update entity for an unmodified installation on Home Assistant 2024.7 or later.
- Compile manually customized YAML on a desktop-class system if the Home Assistant host lacks sufficient resources.
Privacy and compatibility limits
Voice processing locality depends on every Assist pipeline stage, not only the wake-word setting. Review the privacy terms and network path of any cloud speech or conversation service you enable. Restrict voice-exposed entities to actions whose accidental or overheard activation is acceptable, and do not rely on software mute as a physical privacy switch.
- Use only the firmware target for the exact BOX generation printed on the unit.
- Do not expose Home Assistant directly to the public internet merely to make this satellite work.
Troubleshooting
The browser does not list the BOX-3 serial port. Use desktop Chrome or Edge, change to a known data cable, connect directly to the main unit, then hold Boot while tapping Reset to invoke flash mode.
The device joins Wi-Fi but does not answer. Confirm the ESPHome integration is connected, the chosen Assist pipeline works independently, wake word is enabled, and the room or entity name matches Home Assistant.
Wake-word detection works but replies are slow or leave the network. Inspect the speech-to-text, conversation and text-to-speech services in the selected pipeline; on-device wake detection does not make those stages local.
A custom ESPHome build fails. Return to the precompiled image or build the exact upstream BOX-3 YAML with its minimum supported ESPHome version on a desktop-class system.
Next steps
Keep the next experiment small and reproducible.
- Run the same harmless command from two placements to compare microphone and Wi-Fi reliability.
- Configure and test a fully local Assist pipeline if local speech processing is a requirement.
- Customize one wake word or display behavior only after saving the known-good firmware release and recovery path.