Who this is for
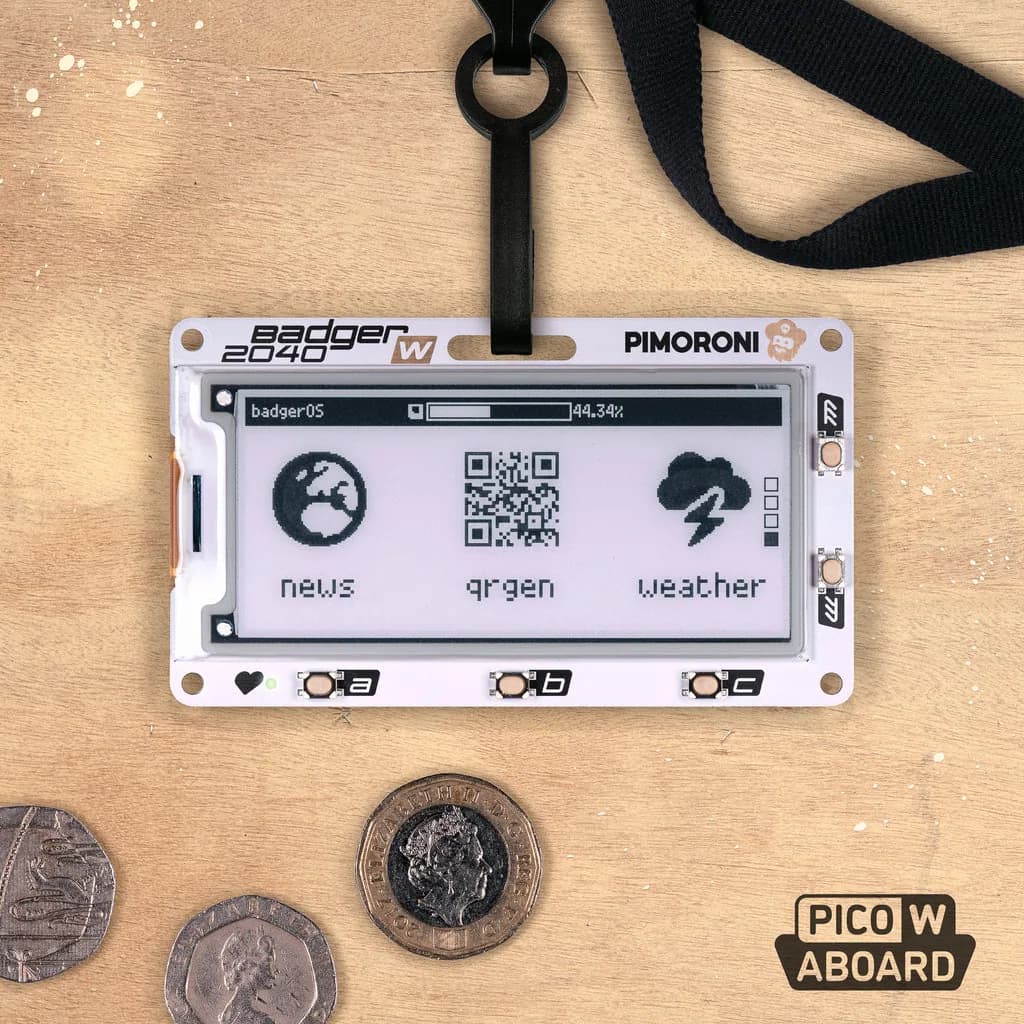
Makers building a name badge, task list, room status sign or low-update personal display on Badger 2040 W.
Before you start
Have these basics ready before choosing parts or flashing firmware.
- A Badger 2040 W, USB data cable and a compatible battery if portable operation is required.
- Pimoroni’s current firmware/examples and a small monochrome asset workflow.
- A simple HTTPS or local endpoint if the badge will fetch remote data.
Choose the refresh model
Manual refresh: Content changes when the user presses a button; simplest and most battery-friendly.
Scheduled refresh: Data changes a few times per hour or day and staleness can be shown.
Event-driven refresh: An external system can signal an update, but you accept added connectivity complexity.
Understand what persists
E-paper keeps its image without continuous display power, but the microcontroller, Wi-Fi connection and refresh still consume energy. Design the application around long sleep periods and infrequent full updates.
- Define a maximum acceptable content age.
- Show the last successful update time.
Install and preserve a known baseline
Load the current Badger 2040 examples and run the launcher before modifying files. Keep a copy of the working filesystem so experiments can be reverted without reconstructing the environment.
- Test every button.
- Record the firmware and repository revision.
Design for monochrome legibility
Use black, white and deliberate whitespace; avoid tiny text and gray-dependent screenshots. Make the most important state readable at arm’s length and reserve icons for meanings that remain clear without color.
- Prototype at the physical pixel dimensions.
- Test long names and worst-case values.
Control refresh artifacts
Update only when information changes and use the library’s documented refresh modes. Schedule periodic full refreshes if partial updates leave ghosting, and never hide stale data by repeatedly redrawing the same failed state.
- Keep a refresh counter during testing.
- Use a visible offline/stale marker.
Fetch compact data
Connect to Wi-Fi, request a small payload, validate it and disconnect or sleep promptly. Cache the last good response locally so a network outage produces an honest stale display rather than a blank badge.
- Use timeouts and bounded retries.
- Keep credentials out of the published repository.
Measure the complete duty cycle
Test wake, connect, fetch, render and sleep on the intended battery. Record failures and actual update frequency; optimize connection retries before trimming drawing code.
- Use a manual wake button for recovery.
- Protect the battery and board in the enclosure.
Safety and privacy notes
Use a compatible protected battery and avoid charging or operating damaged cells. A wearable badge is public by nature: do not display private tasks, access codes, live location or credentials, and secure any endpoint that reveals personal status.
- Disconnect the battery before enclosure rework.
- Respect API terms and avoid aggressive polling.
Troubleshooting
The display shows ghosting. Reduce unnecessary partial refreshes and perform a documented full refresh at a sensible interval.
Wi-Fi drains the battery. Shorten timeouts, limit retries, cache data and move to manual or less frequent updates.
The badge boots to an error or blank app. Restore the known-good example filesystem, inspect serial output and add assets one at a time.
Next steps
Keep the next experiment small and reproducible.
- Run the stock examples.
- Create one static badge layout.
- Add cached Wi-Fi data with a visible freshness timestamp.