Shrike-lite FPGA LED blink
Load Vicharak’s tested LED bitstream through the RP2040 to blink the Shrike-lite’s FPGA-connected user LED.
View original project ↗What you’re building
Vicharak’s first-party getting-started flow uses the Shrike-lite’s RP2040 as the configuration host for its Renesas ForgeFPGA. The simplest path installs the Shrike-lite MicroPython UF2 from release v1.0.0, copies the prebuilt LED bitstream to the board, and calls shrike.flash() from a short Python program. The current example says the FPGA bitstream is shared across Shrike variants and confirms Shrike-lite as tested. The target is the FPGA user LED on pin 16; it is separate from the RP2040 user LED on GPIO 4. The same guide also documents Arduino and CircuitPython routes, but this record keeps to one reproducible MicroPython path. All board GPIO is 3.3 V only. Power the board from either USB-C or the 5 V header, never both at once. This catalogue entry is source-verified but not independently exercised on hardware.
Key steps
- Download shrike-lite-micropython.uf2 from release v1.0.0 and examples/led_blink/bitstream/led_blink.bin from the pinned official repository; do not substitute an RP2350 Shrike or ESP32-S3 Shrike-fi firmware image.
- Hold BOOT while connecting the board by USB-C, copy the UF2 to the RP2040 mass-storage drive, and wait for the board to reconnect with its MicroPython storage and serial interfaces.
- Open Thonny, select the board’s MicroPython interpreter, and upload the matching led_blink.bin to the board filesystem.
- Create a Python file that imports shrike and calls shrike.flash("led_blink.bin"), save it to the board, and run it; name it main.py only if it should run at startup.
- Confirm that the FPGA-connected user LED on pin 16 blinks. If it does not, stop and re-check the Shrike-lite UF2 and exact bitstream filename before trying other files.
Original project and code
Original project pages, manufacturer documentation and repositories used while preparing this page. Last reviewed .
Hardware for this project
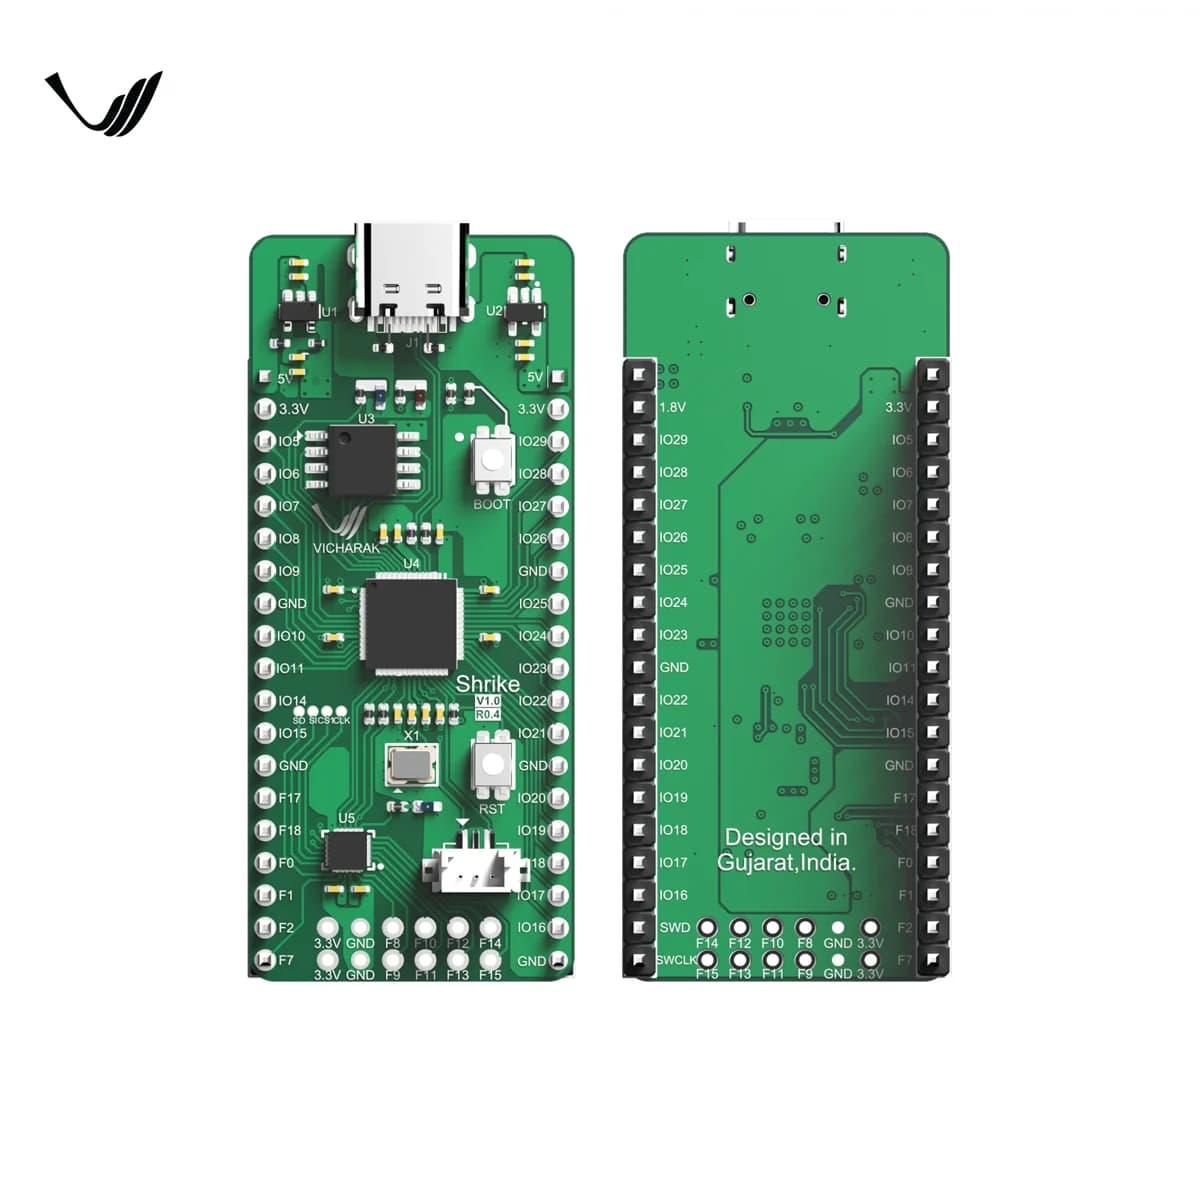
Shrike-lite
Open-source RP2040 and 1,120-LUT ForgeFPGA development board with a six-bit MCU–FPGA link, PMOD connector, breadboard-friendly GPIO and USB-C.
- Platform
- Raspberry Pi RP2040 with Renesas ForgeFPGA SLG47910V, Arduino/MicroPython/CircuitPython/Verilog · Arduino
- Builds
- 01